500 Amp Battery Monitor with Shunt | 8~120V 500A Battery Monitor with Shunt | Accurate Battery Status Monitor | Easy to Use
$99.99
$129.99
Save $30.00
$19.99
$25.99
Save $6.00
$99.99
$129.99
Save $30.00
Options:
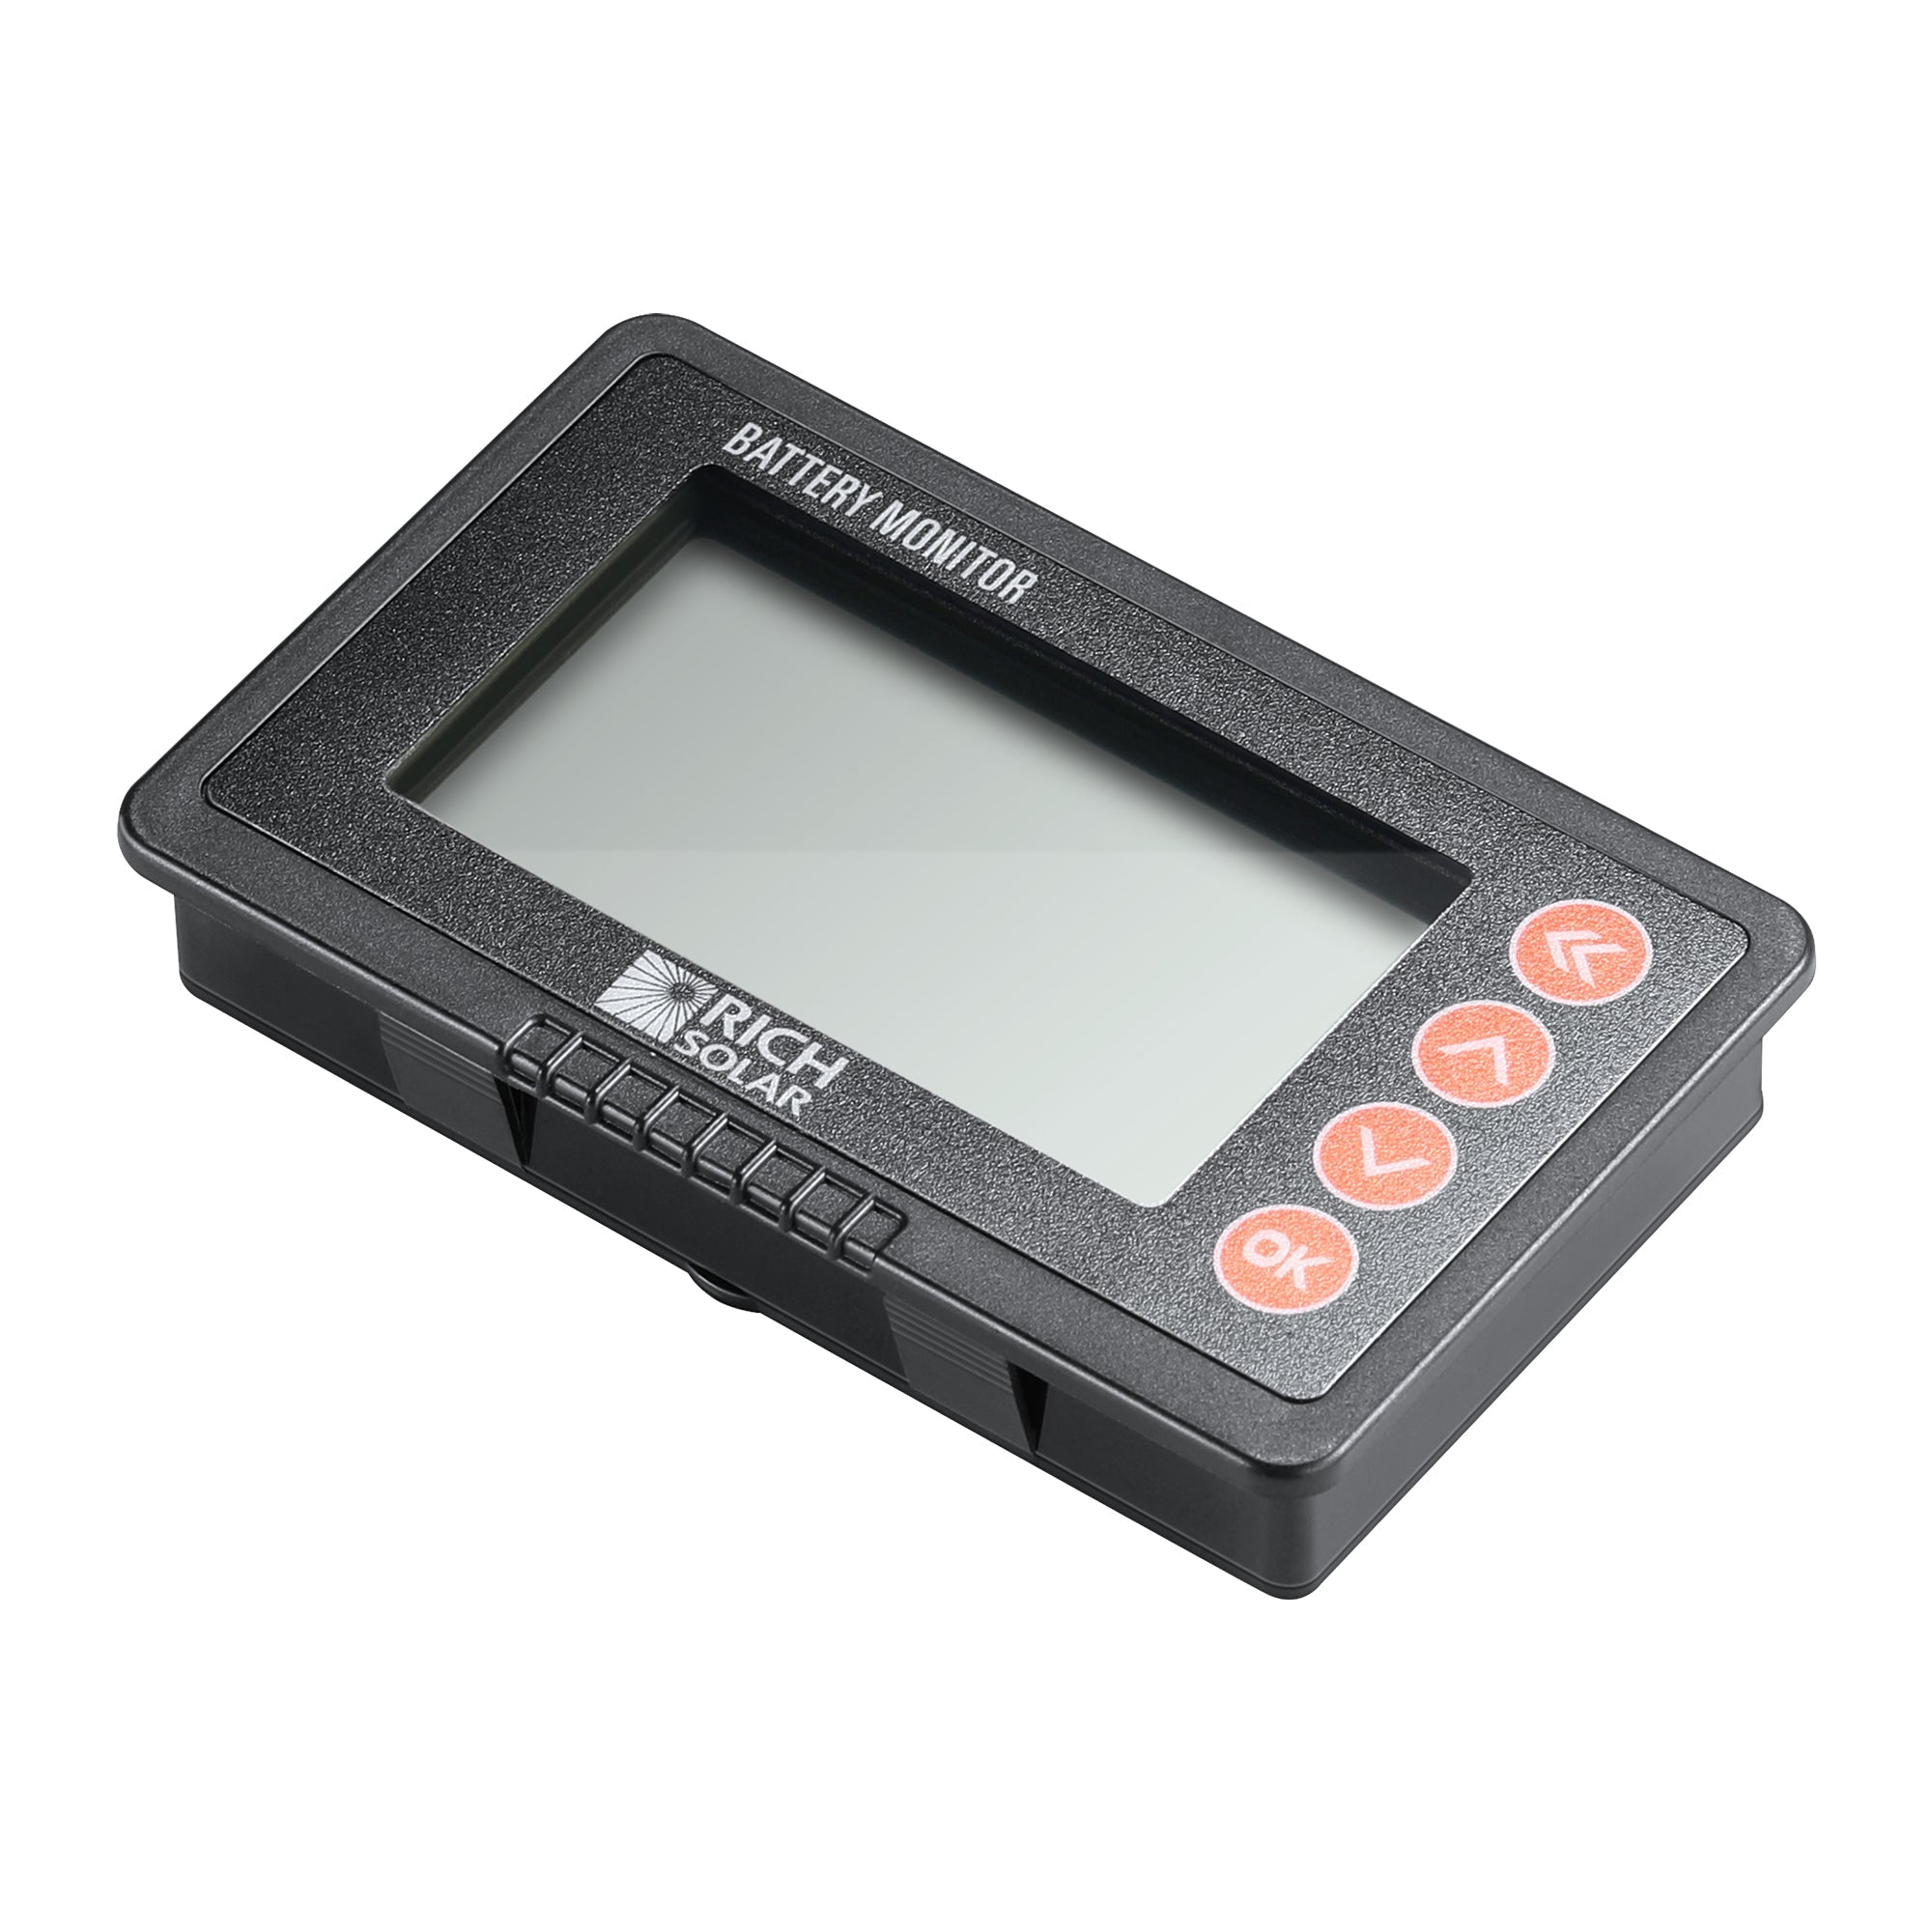
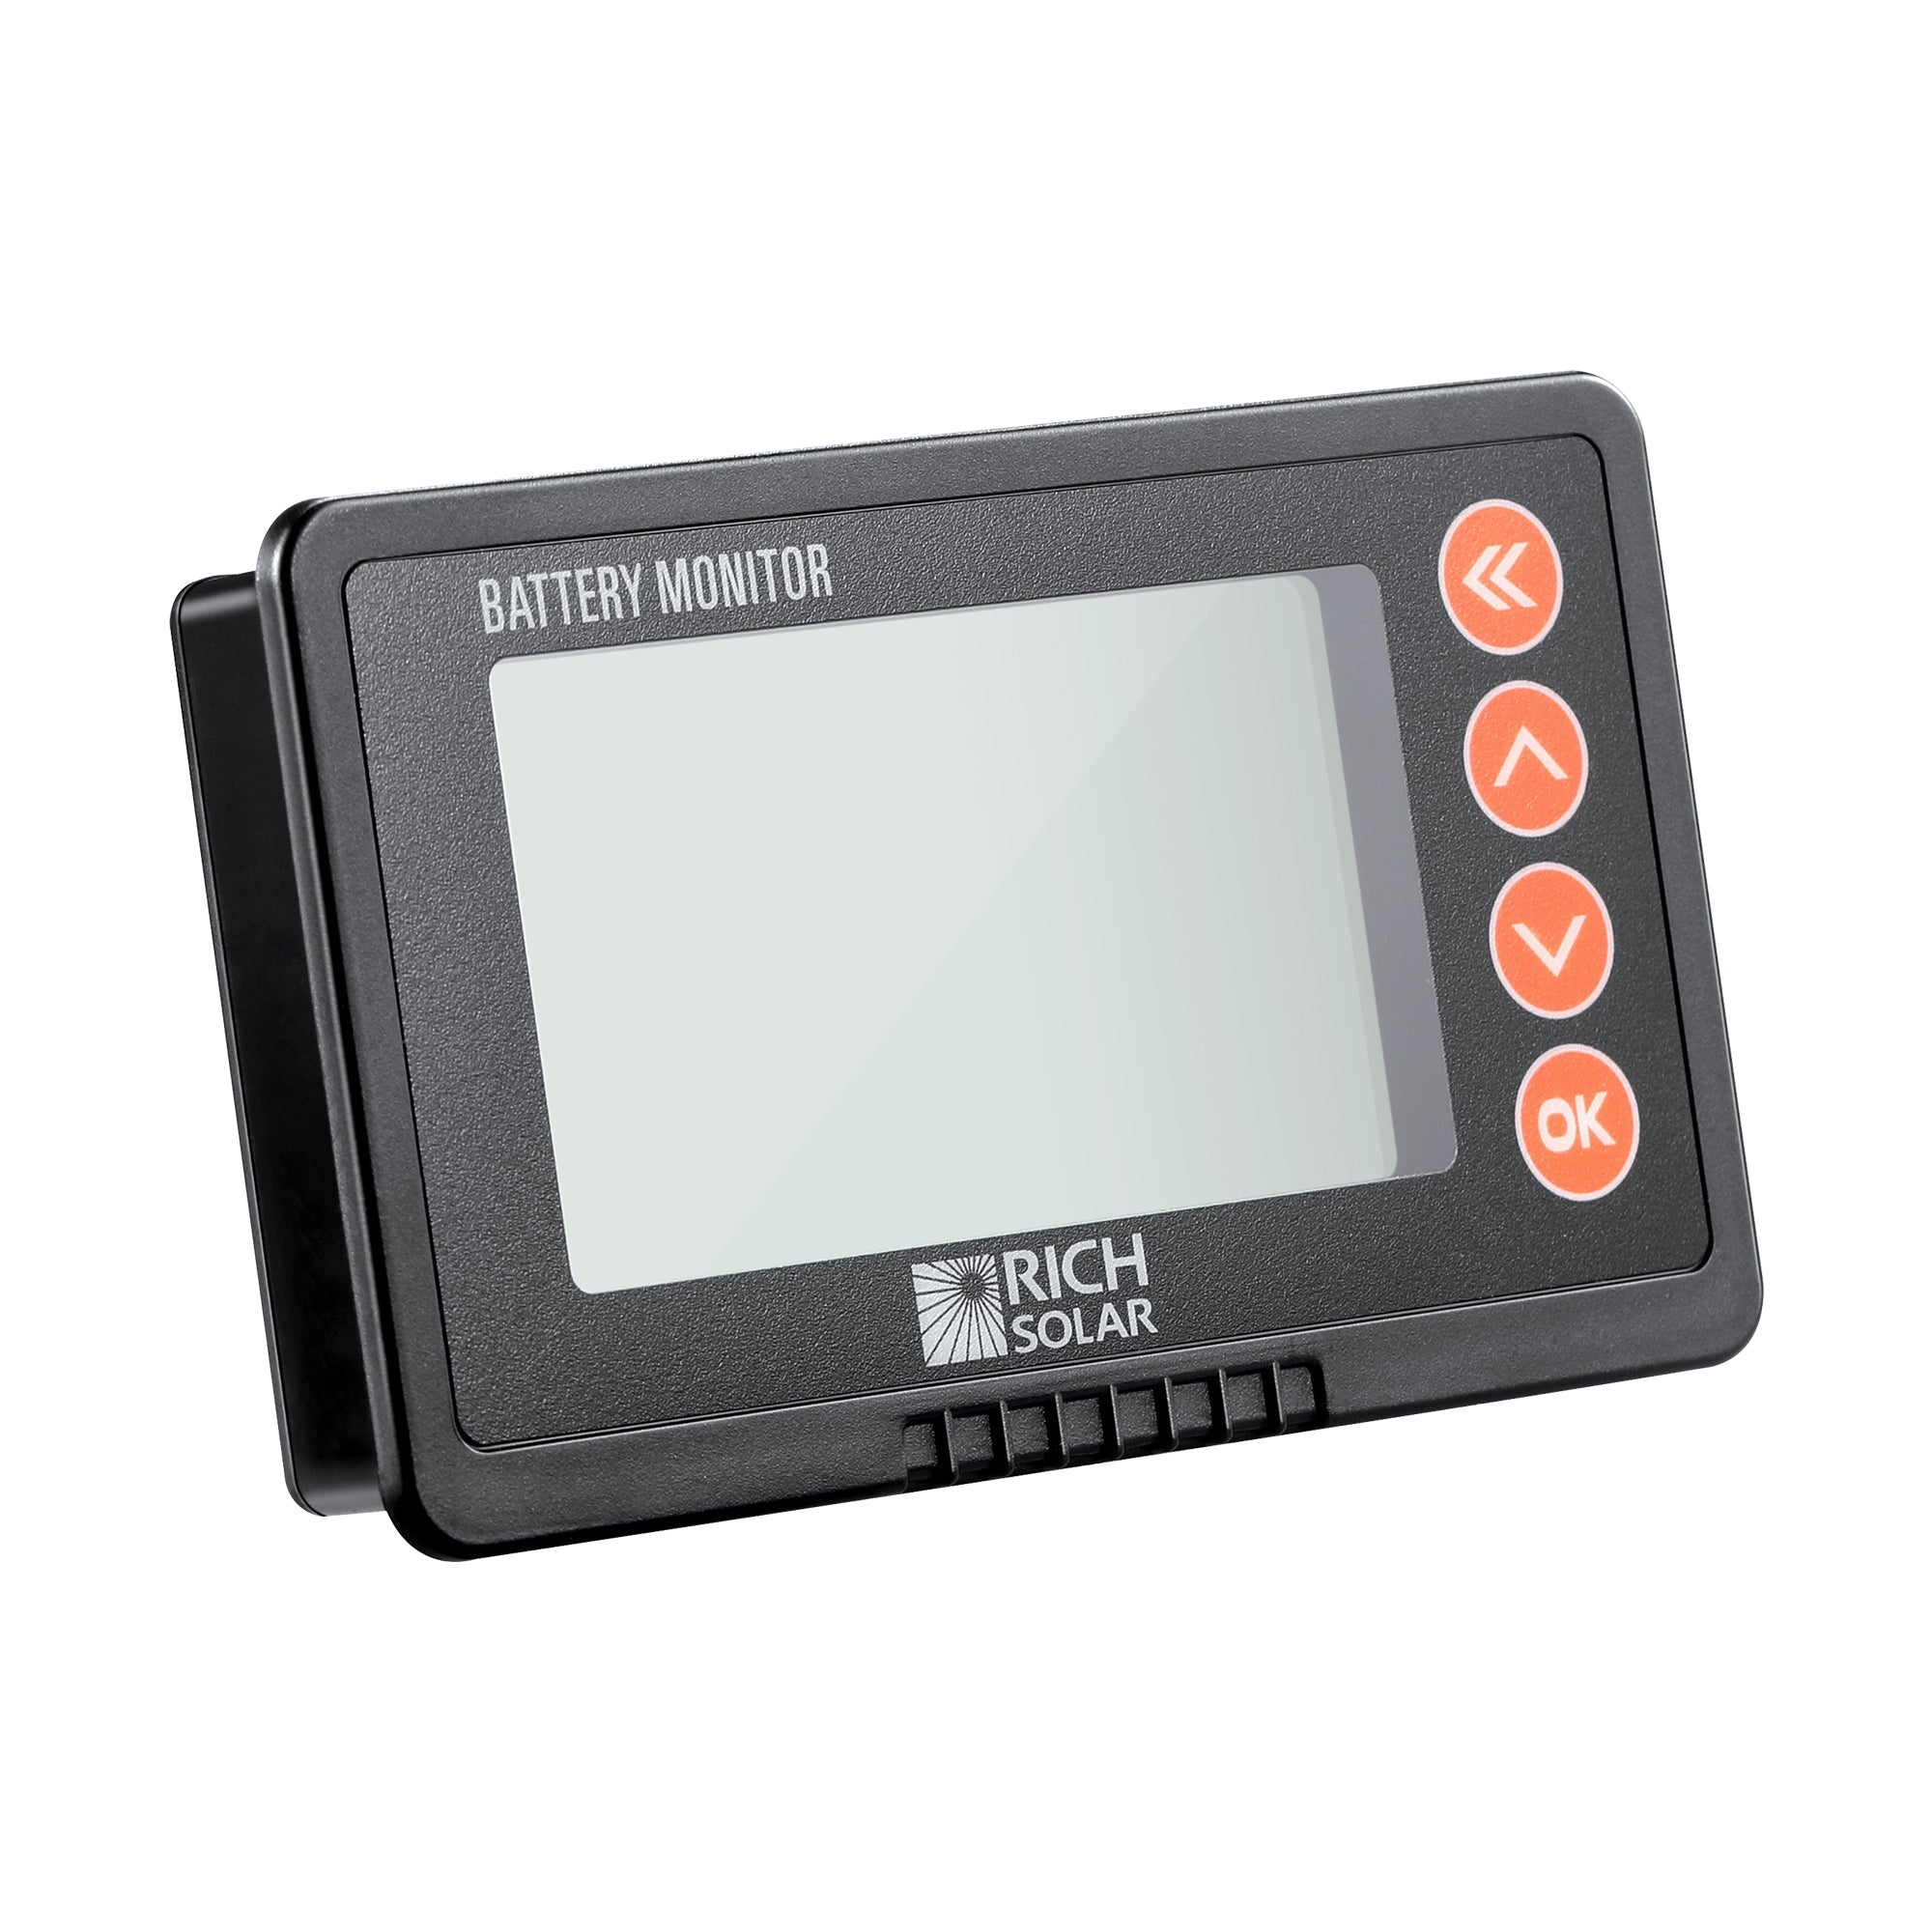
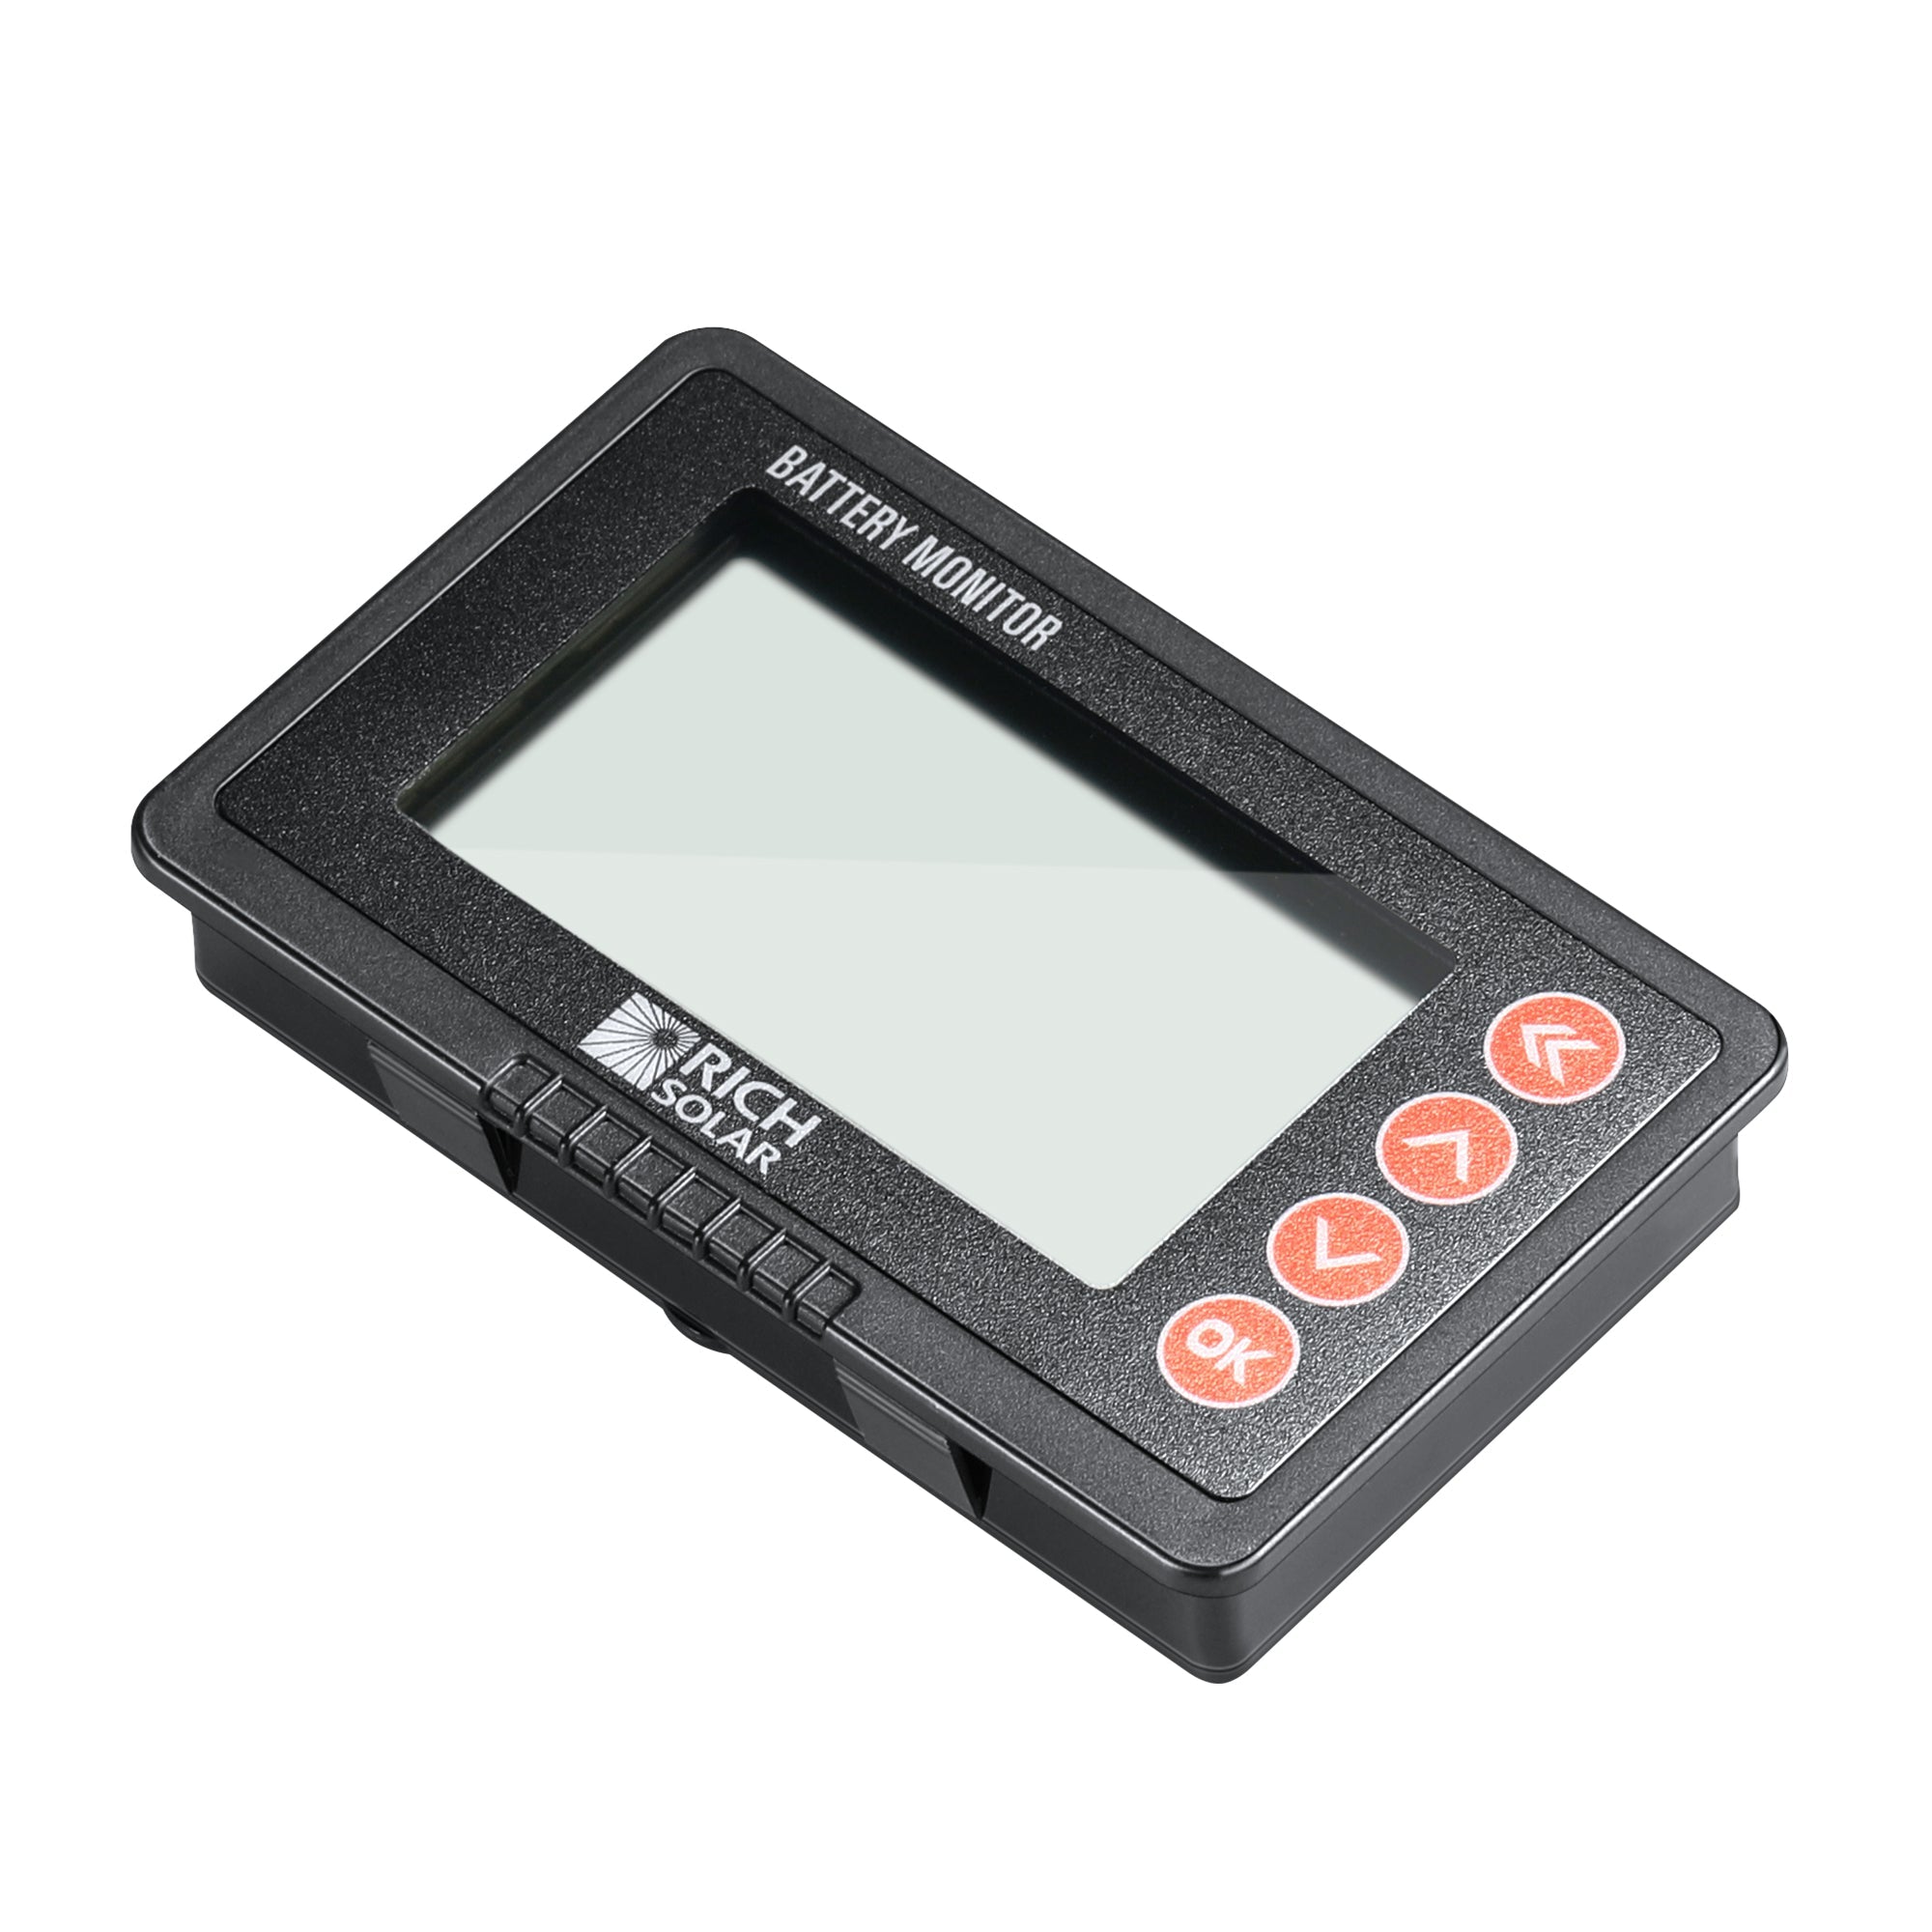
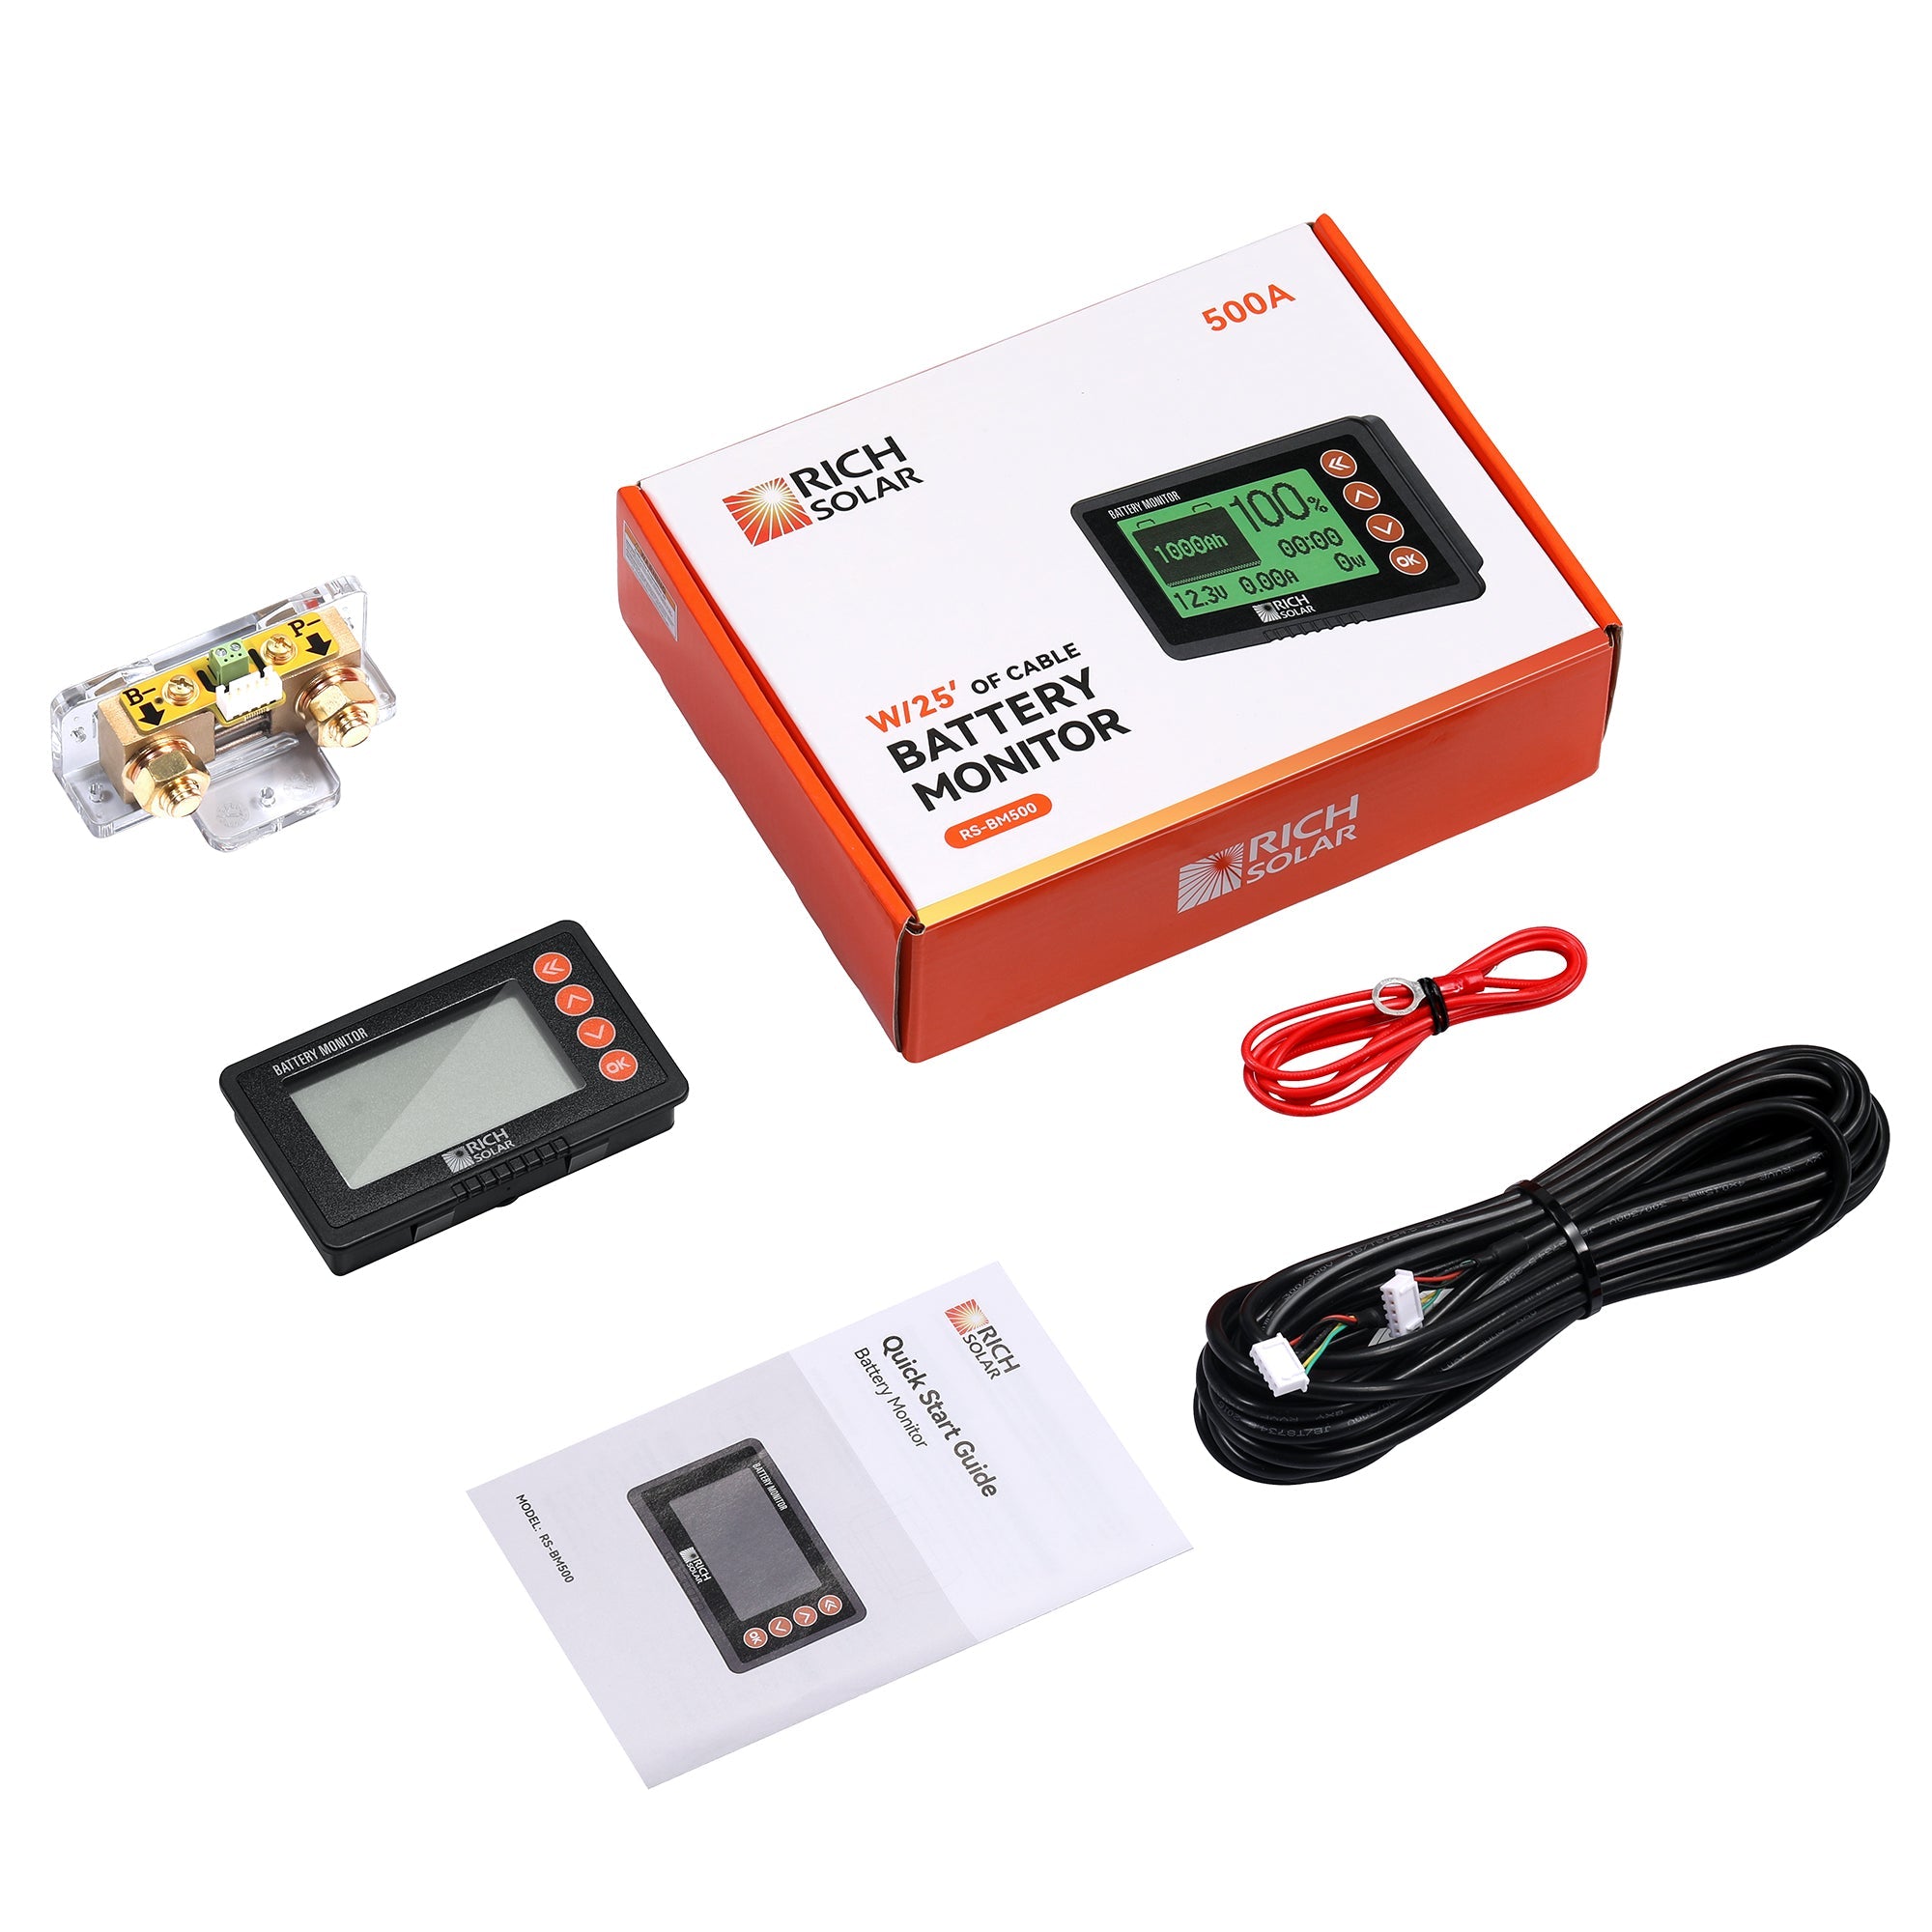
Battery Monitor
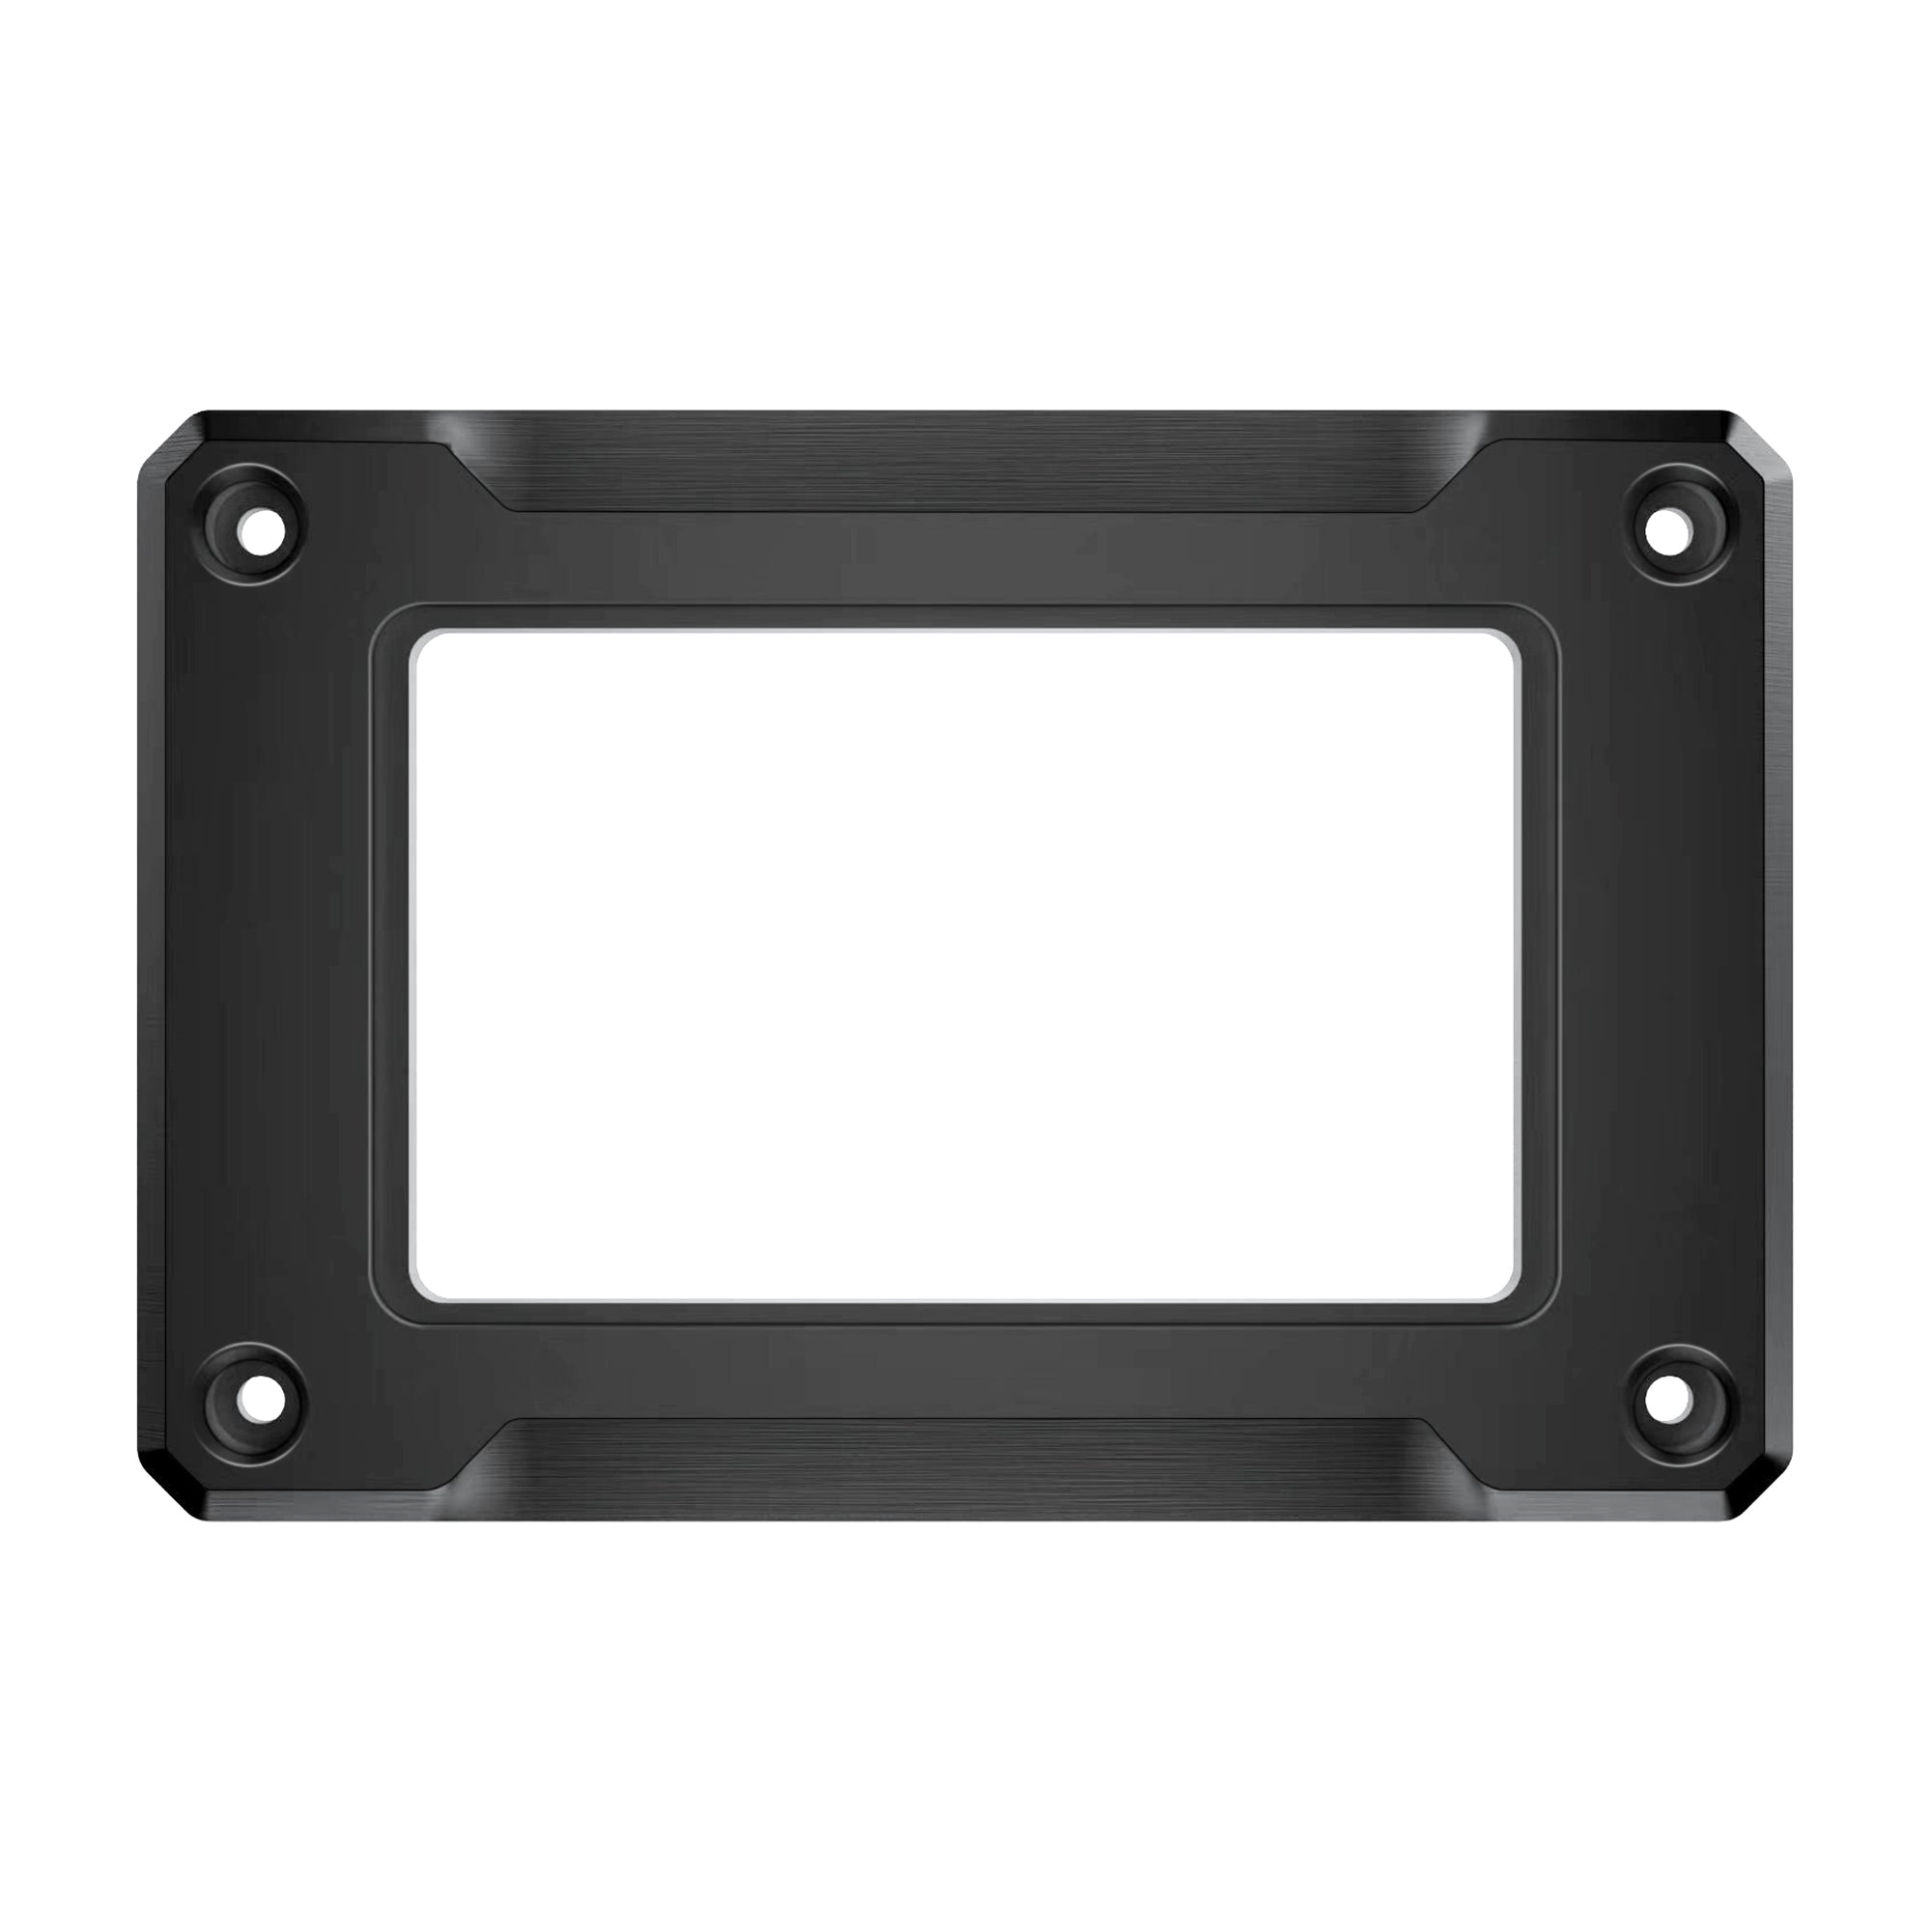
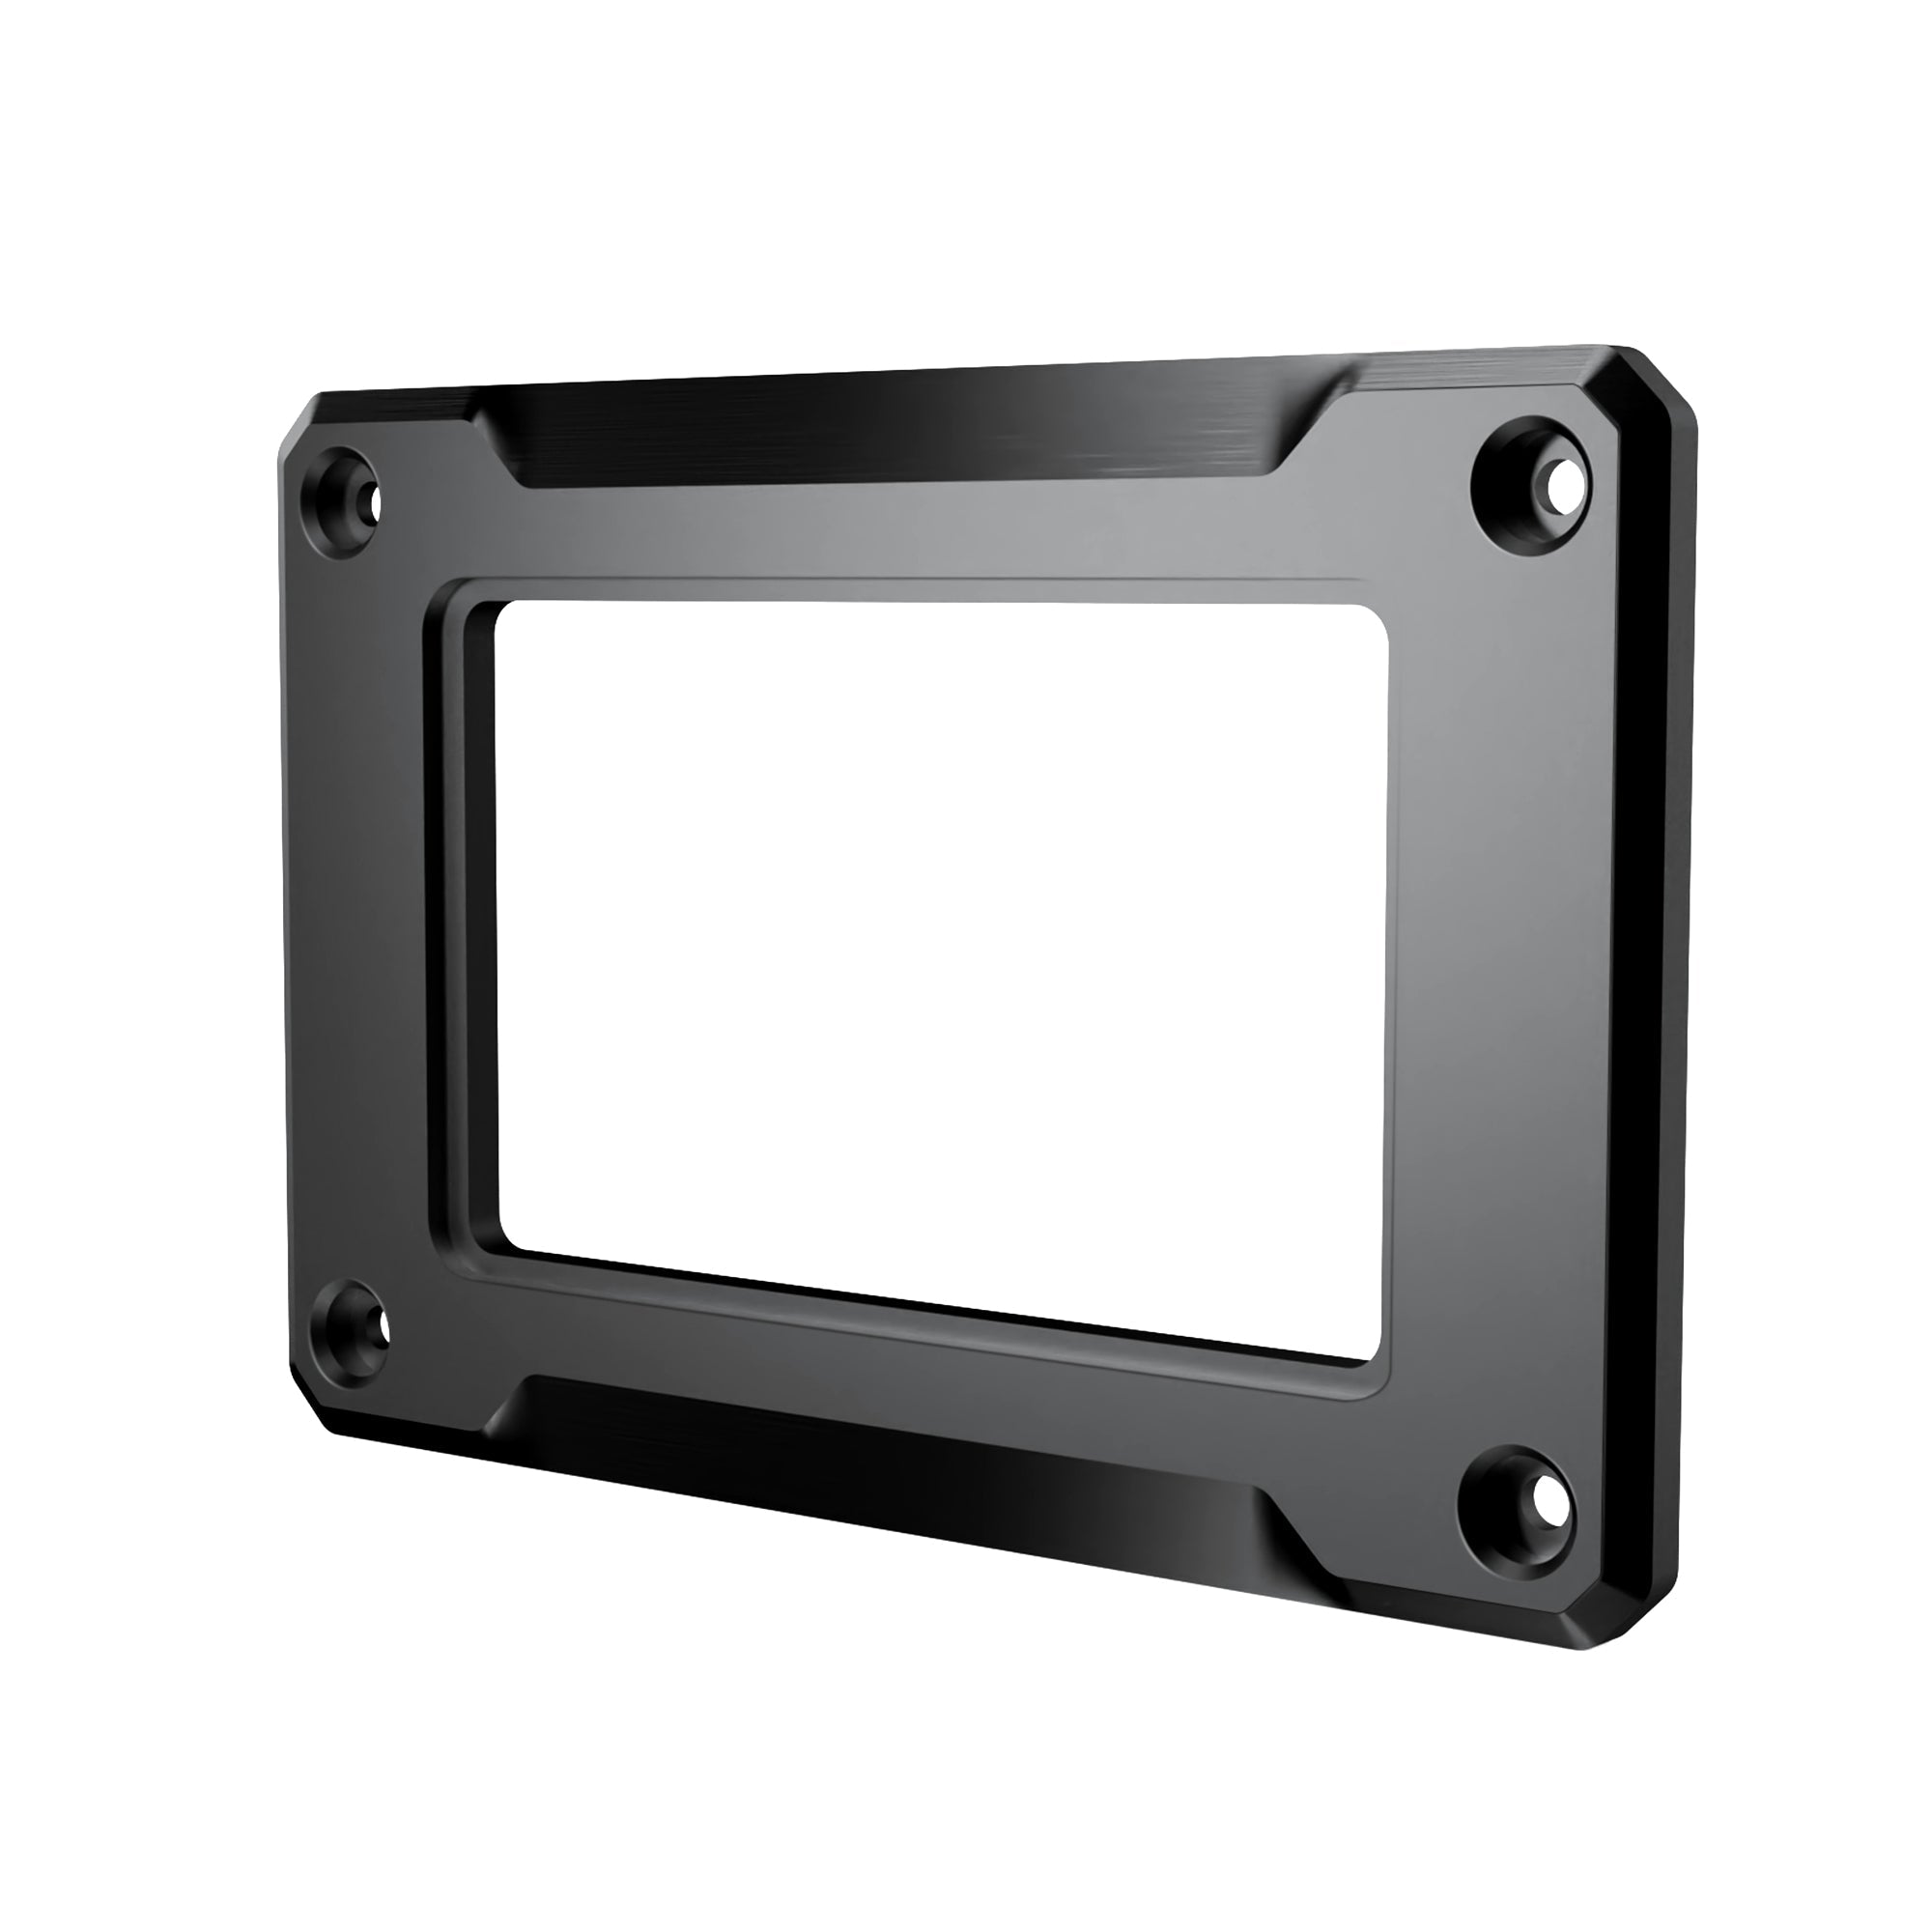
Metal Bezel
Options:
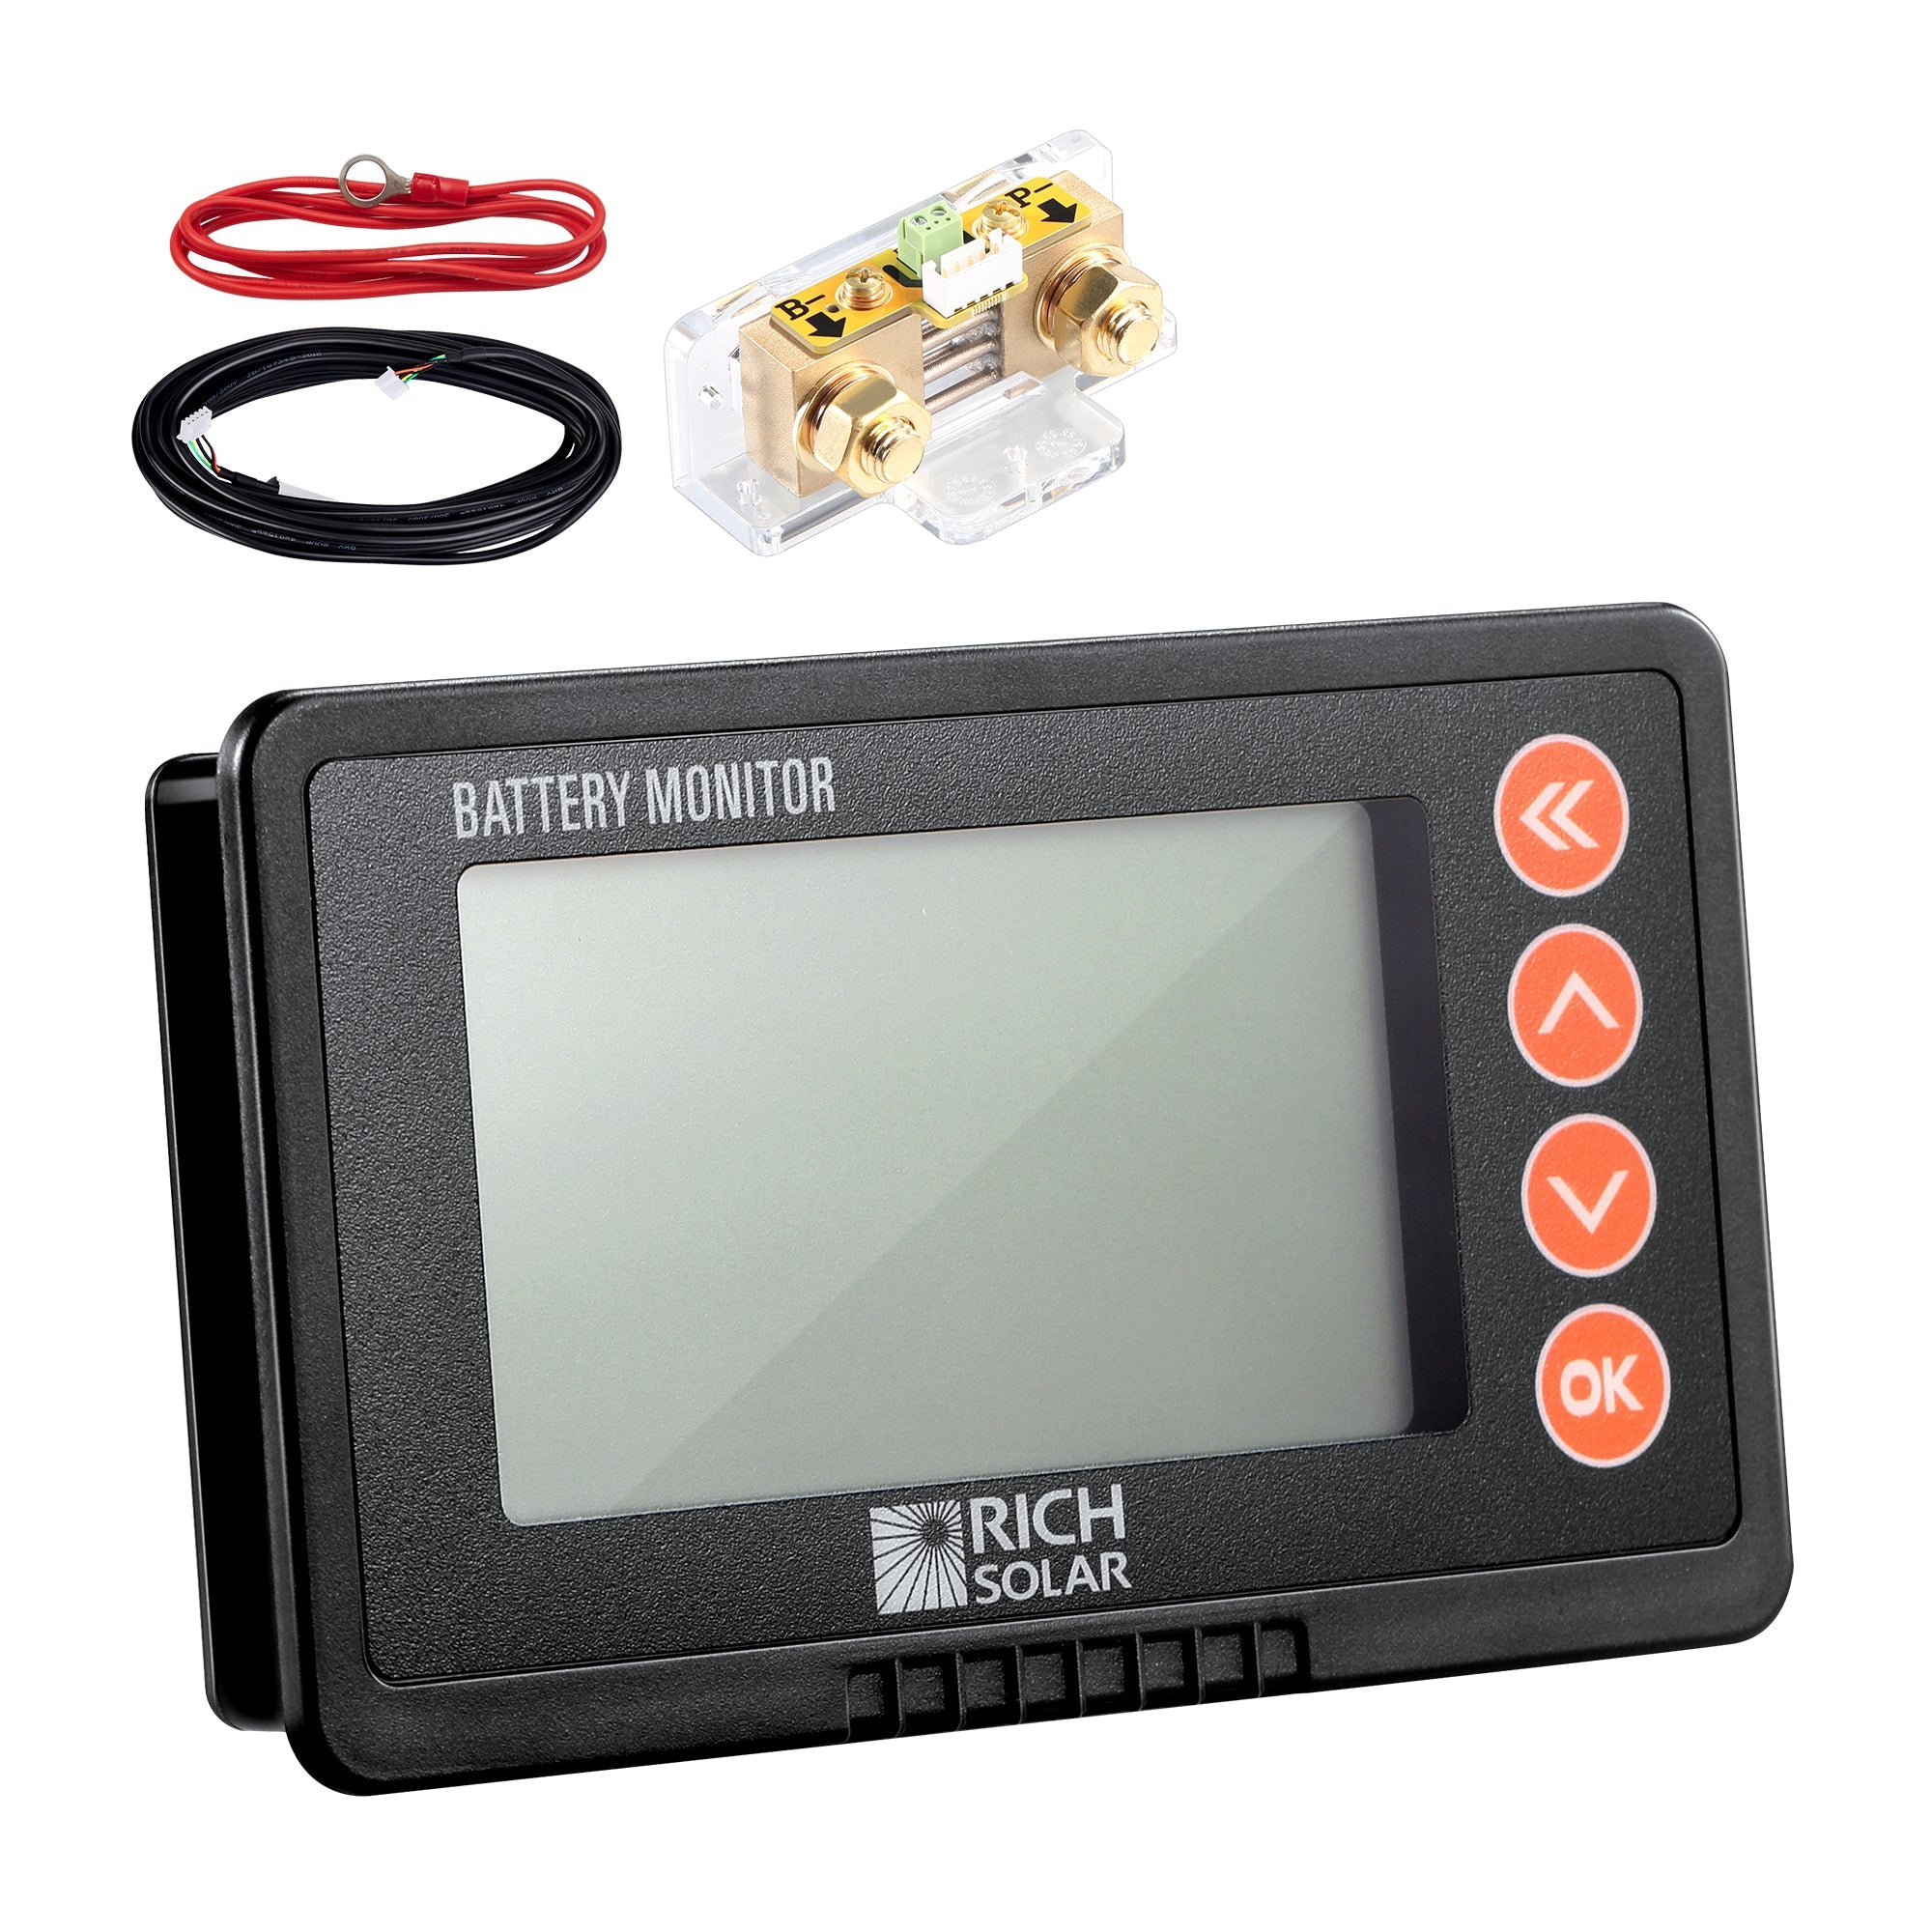
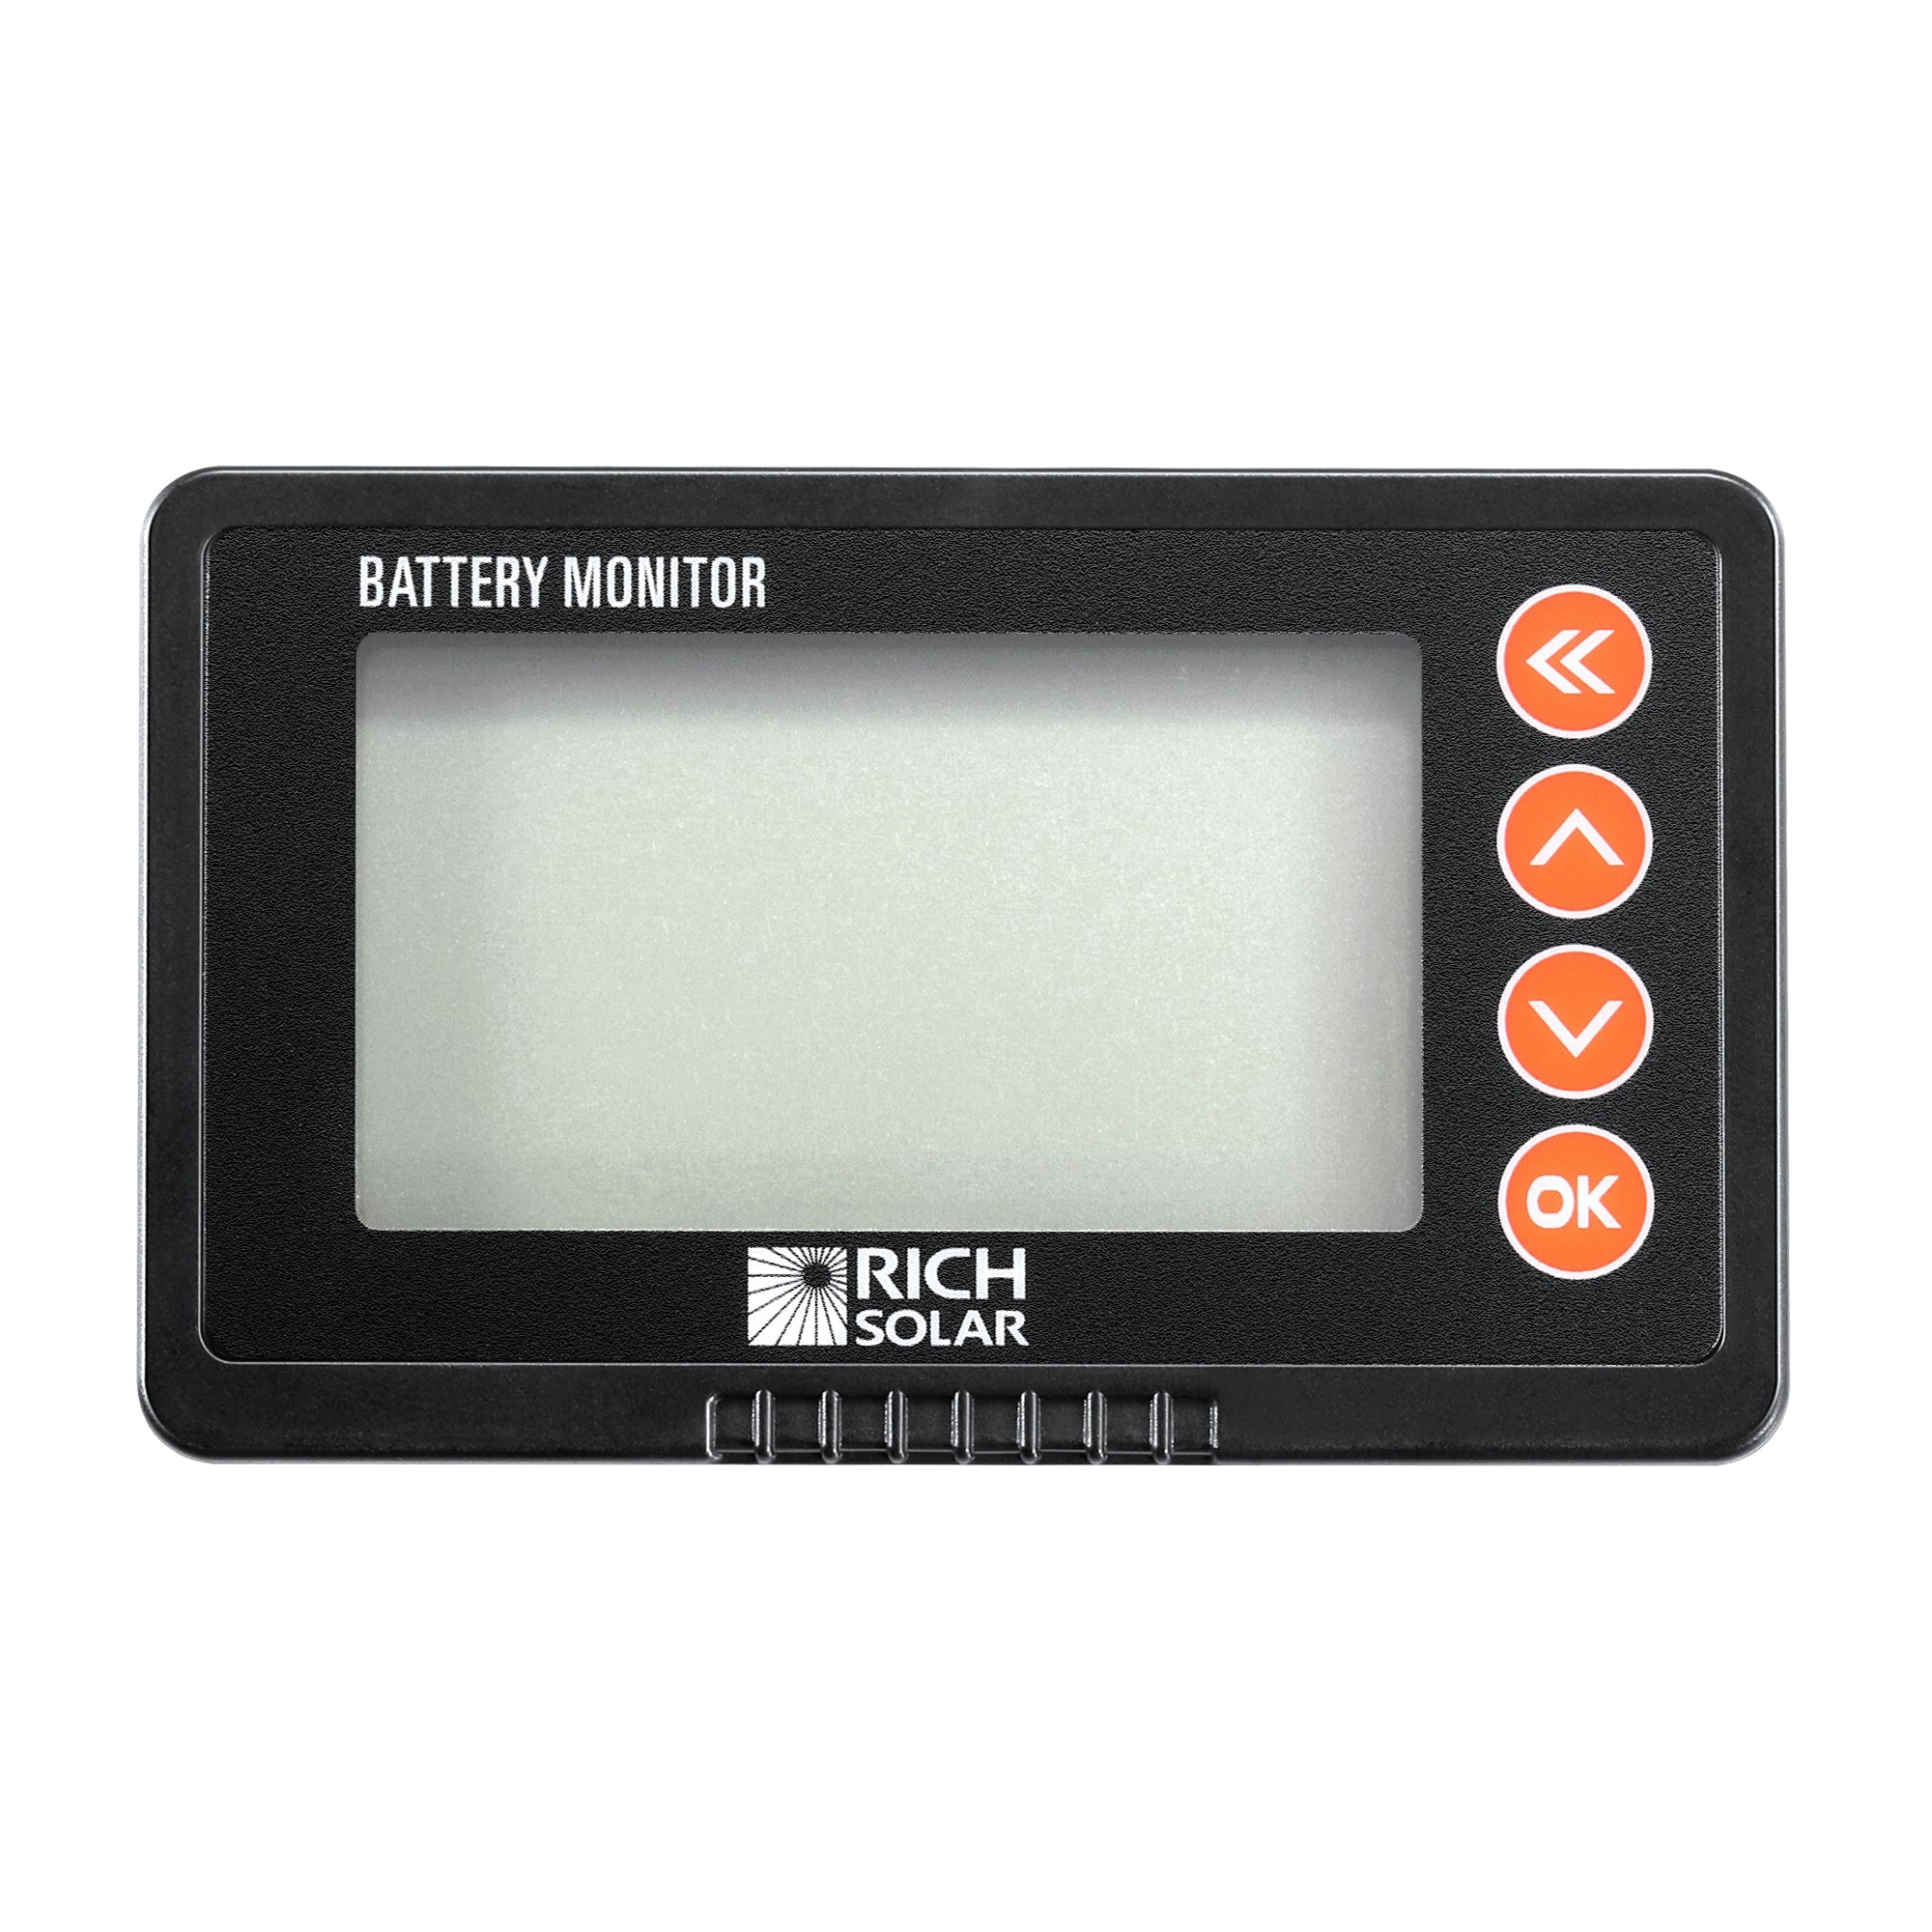
Installation and Wiring-Overview
The RS-BM500 shunt should be mounted as close to the battery as possible, and the remote display is intended to be mounted on a wall.
Recommended Tools
- Wrench
- Drill
- Jigsaw
- 2 ring terminals of appropriate size for battery cable
- Crimp tool for ring terminals
Wiring Diagram
The following wiring diagram will be referenced in the next section.

Installation
- Before doing anything, disconnect all wires from the negative side of the battery.
- Cut the negative cable for the battery and crimp on new ring terminals. Alternatively, use a new wire of appropriate gauge to carry the full current demand of your system.
- Install the shunt as shown in the wiring diagram above.
Note: The negative terminal of the battery must connect directly to the “B-" side of the shunt, and there should be no other connections to the negative terminal of the battery for accurate measurements. - Use the B+ wire included in the package to connect the B+ terminal of the shunt to the positive side of the battery.
Note: Do not stack smaller terminals under large ones. - Connect the shunt to the remote display using the included shielded cable.
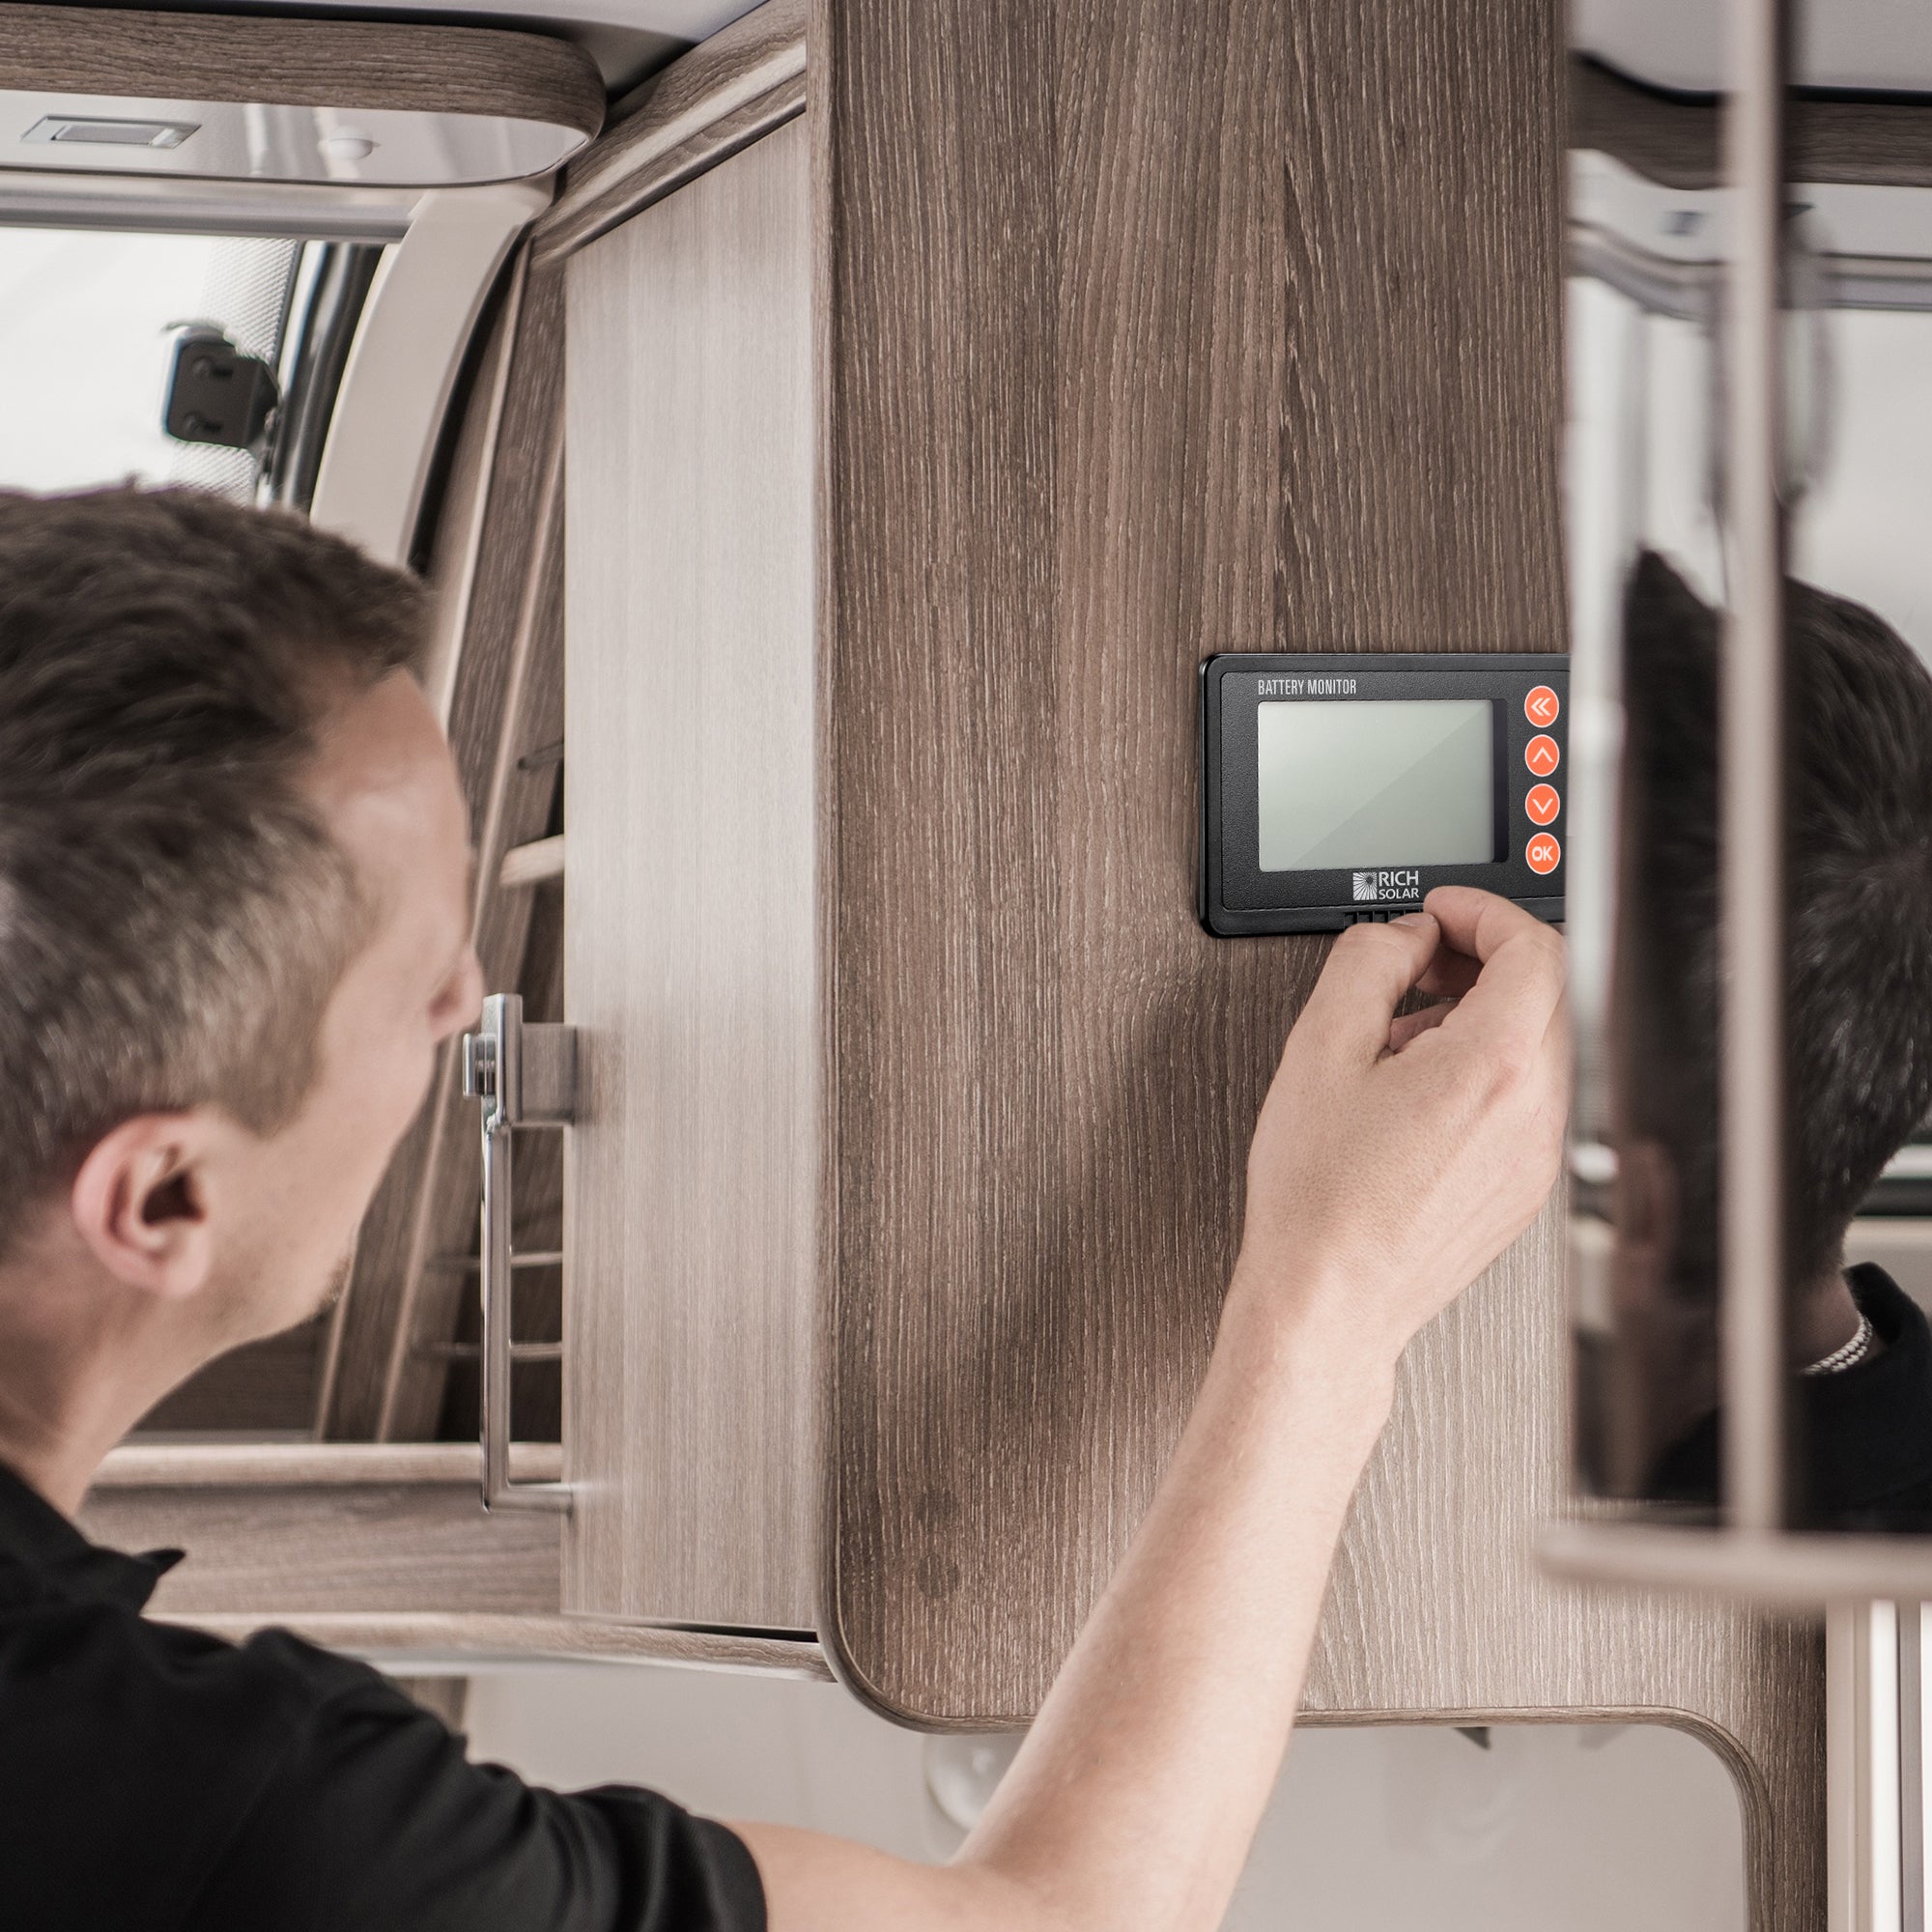
Mounting the Remote Display
- Plan the location of your remote display and keep in mind there is a cable that needs to route all the way to the shunt.
- Drill a hole in the center of the planned location and use the jigsaw to cut a hole according to the following picture.
- Connect the shielded cable to the shunt and route it such that you can bring it through the hole.
- Connect the shielded cable to the remote and snap the remote into place.
Basic Setup
- Before doing anything, disconnect all wires from the negative side of the battery.
- Cut the negative cable for the battery and crimp on new ring terminals. Alternatively, use a new wire of appropriate gauge to carry the full current demand of your system.
- Install the shunt as shown in the wiring diagram above. Note: The negative terminal of the battery must connect directly to the “B-" side of the shunt, and there should be no other connections to the negative terminal of the battery for accurate measurements.
- Use the B+ wire included in the package to connect the B+ terminal of the shunt to the positive side of the battery. Note: Do not stack smaller terminals under large ones.
- Connect the shunt to the remote display using the included shielded cable.
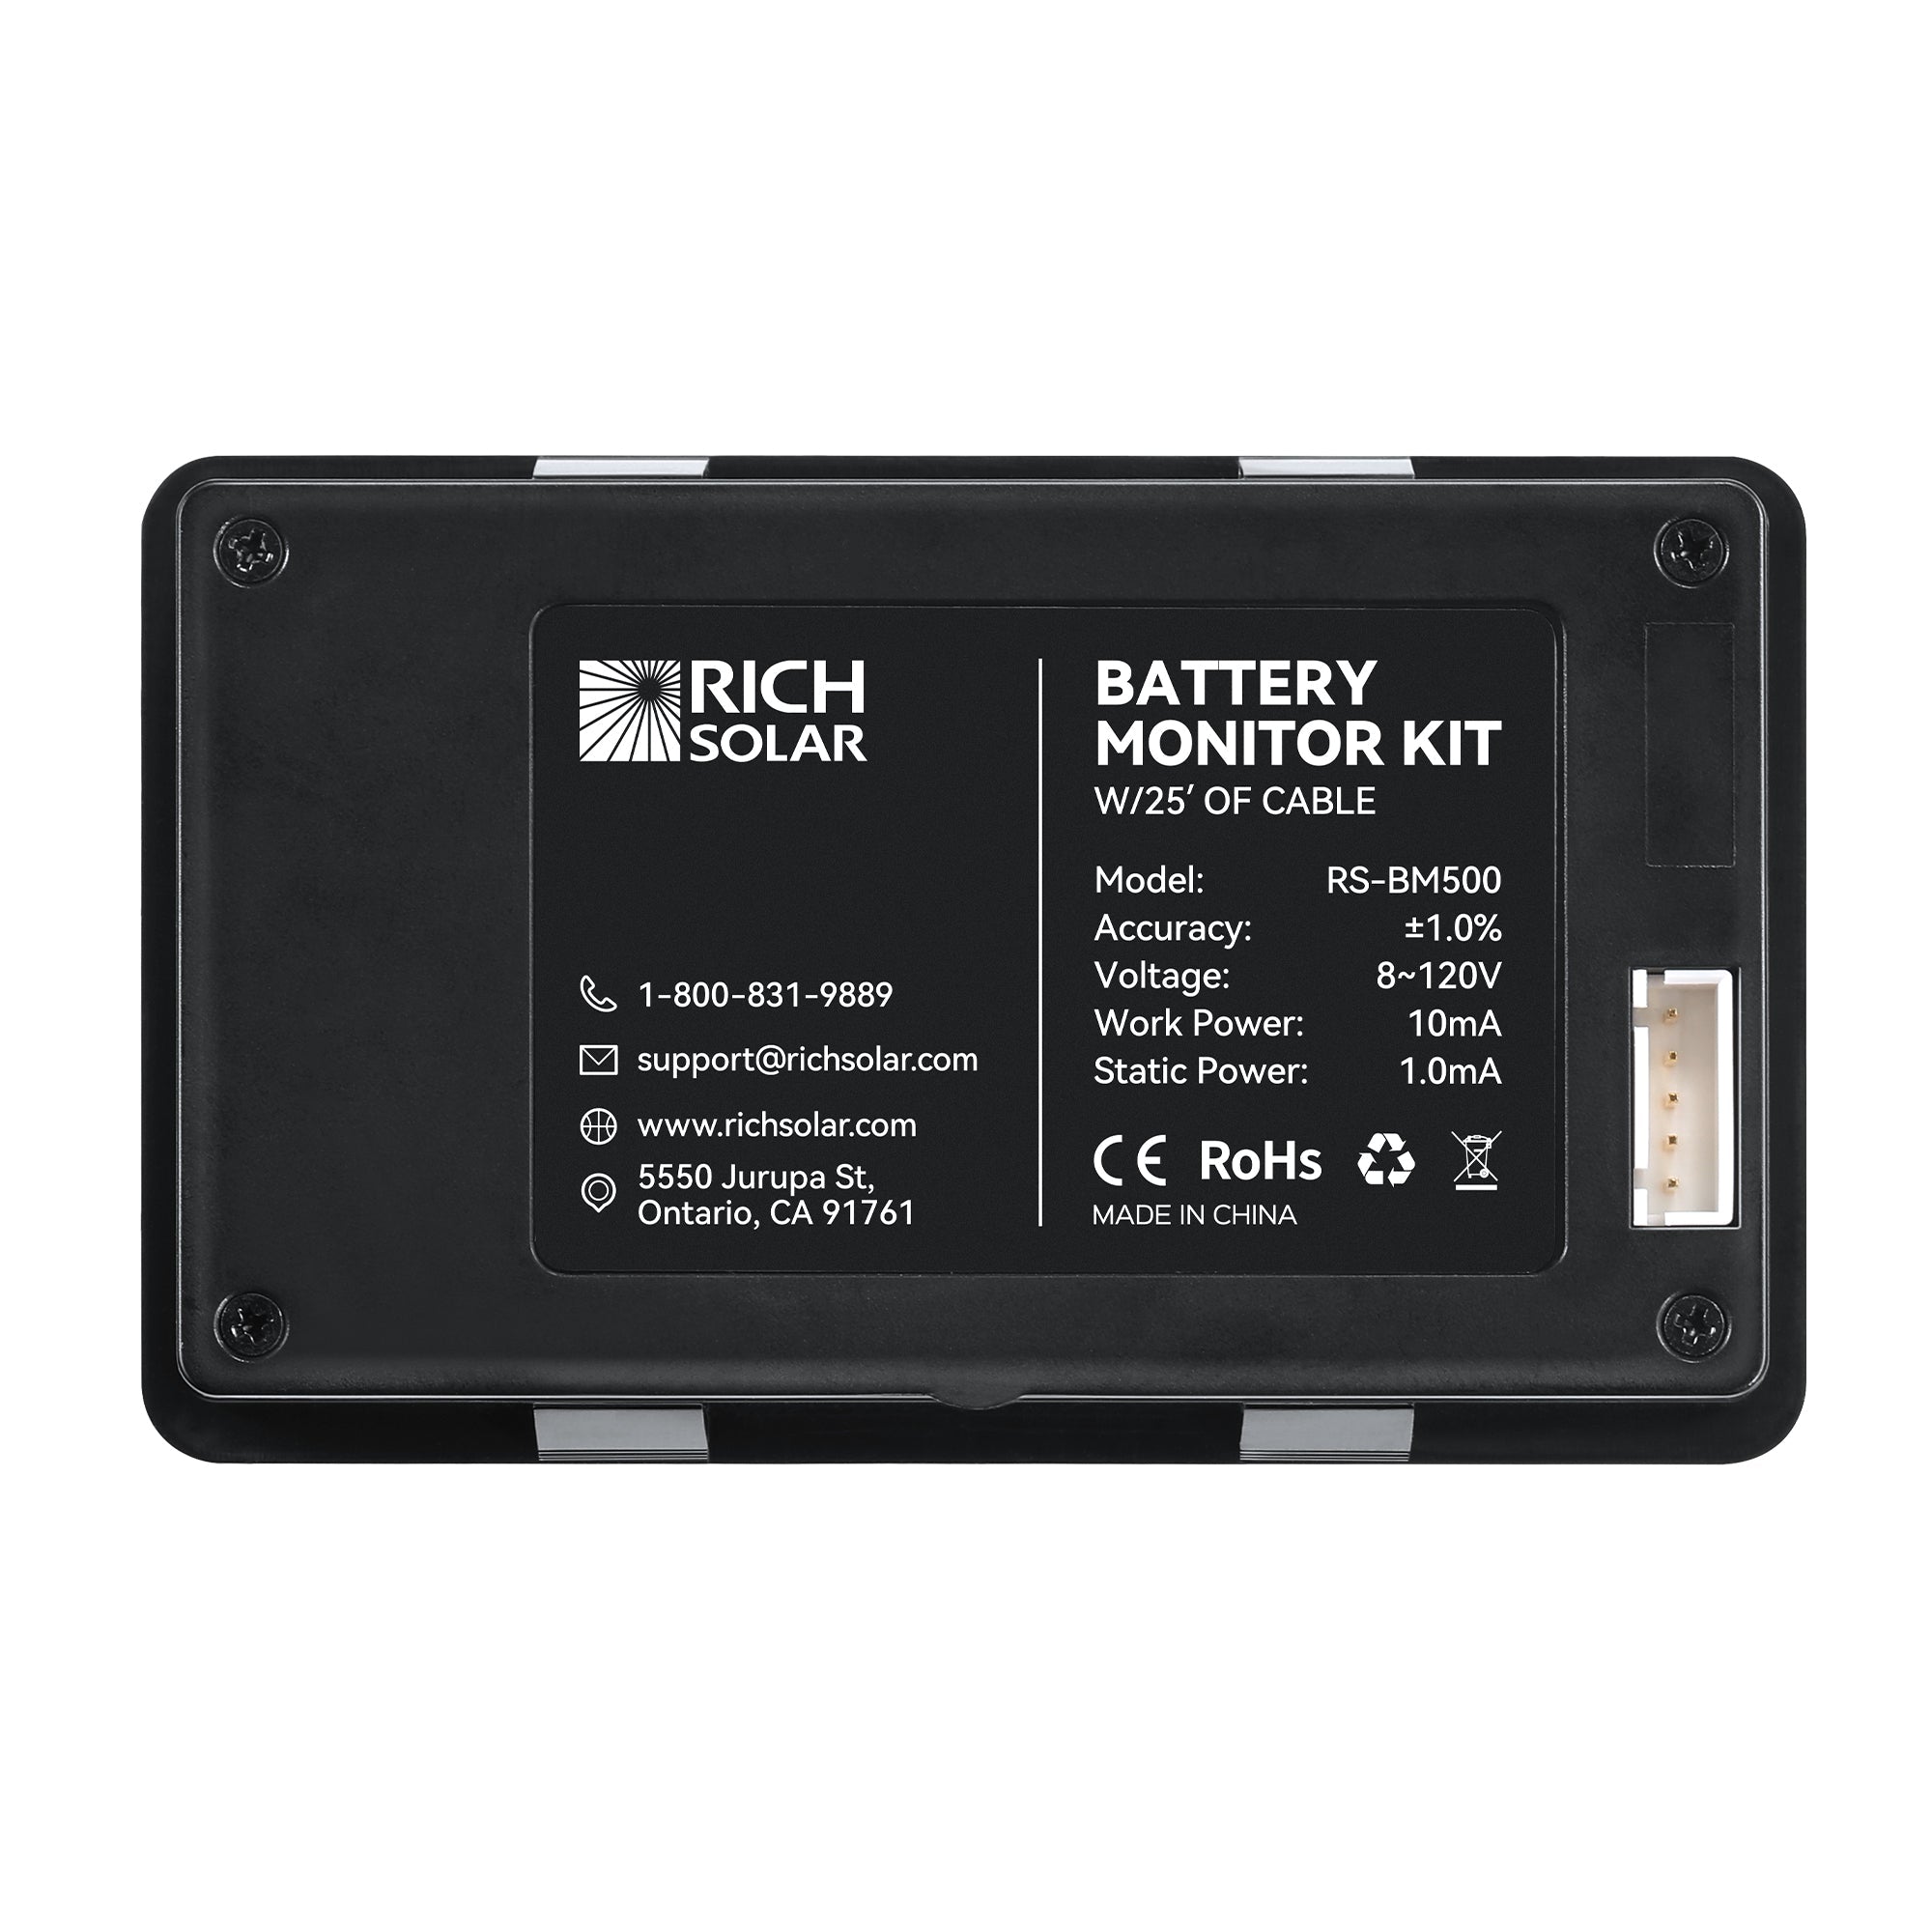
Specifications
Battery Info
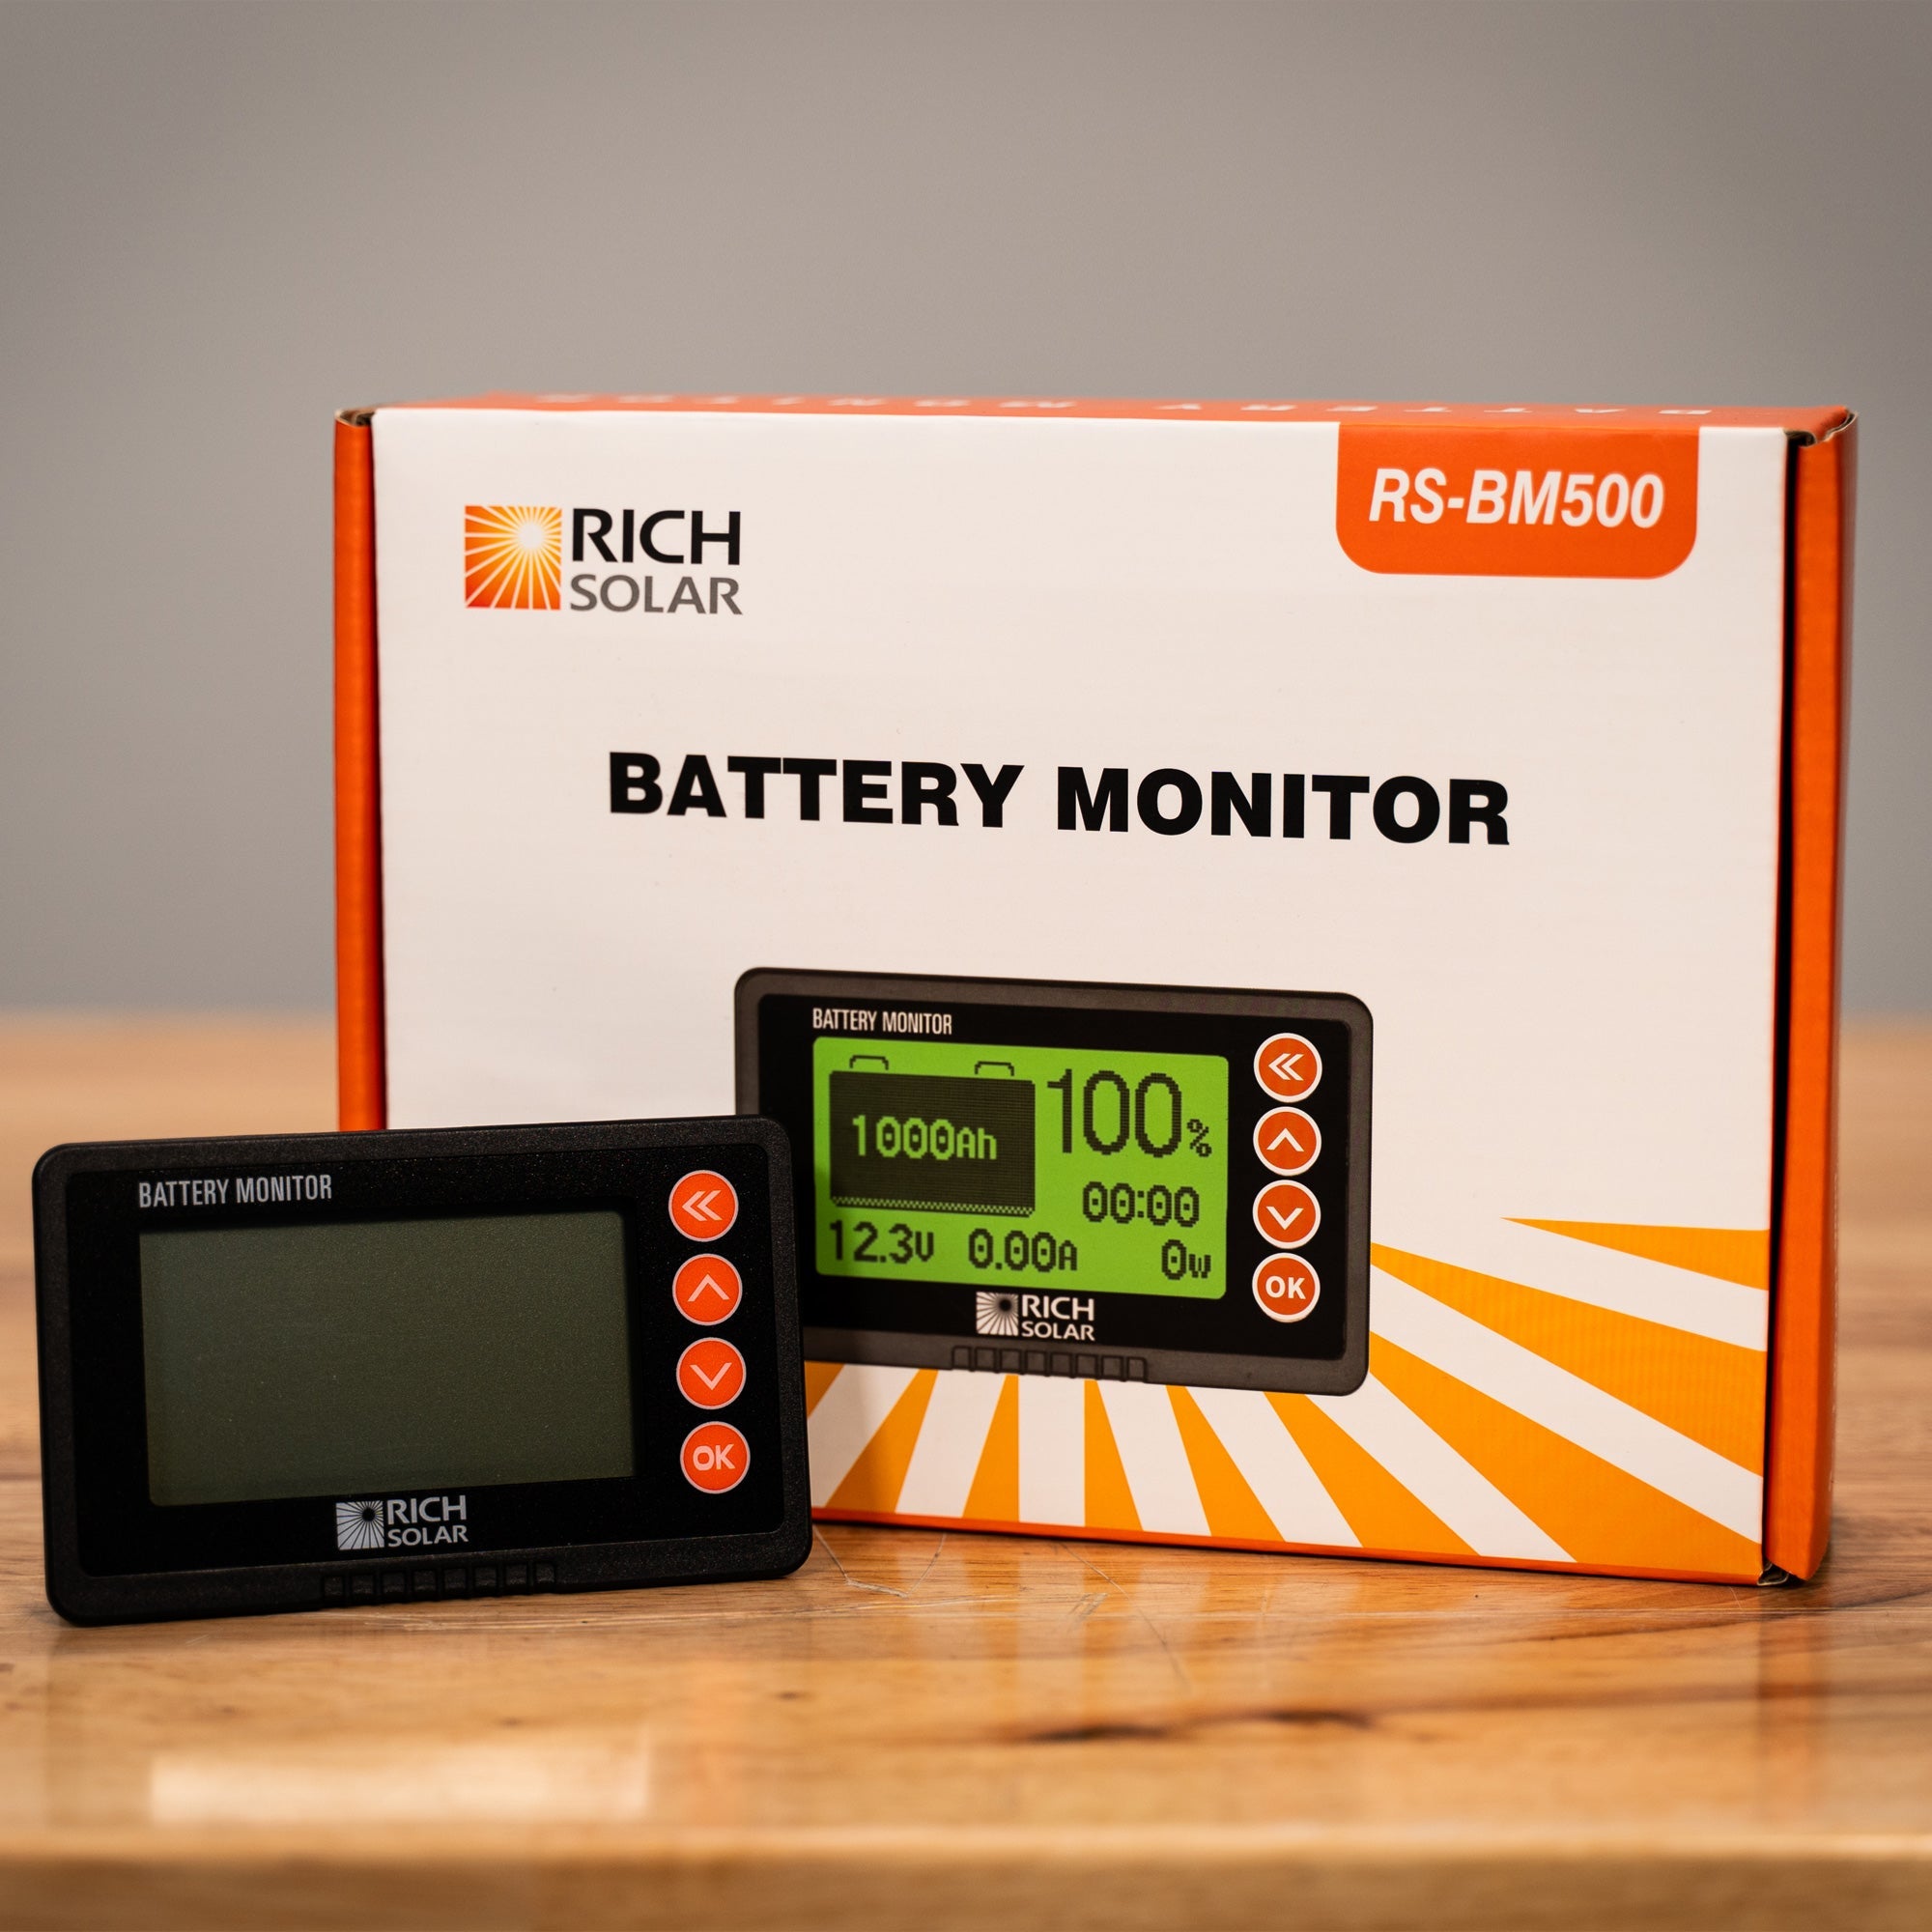
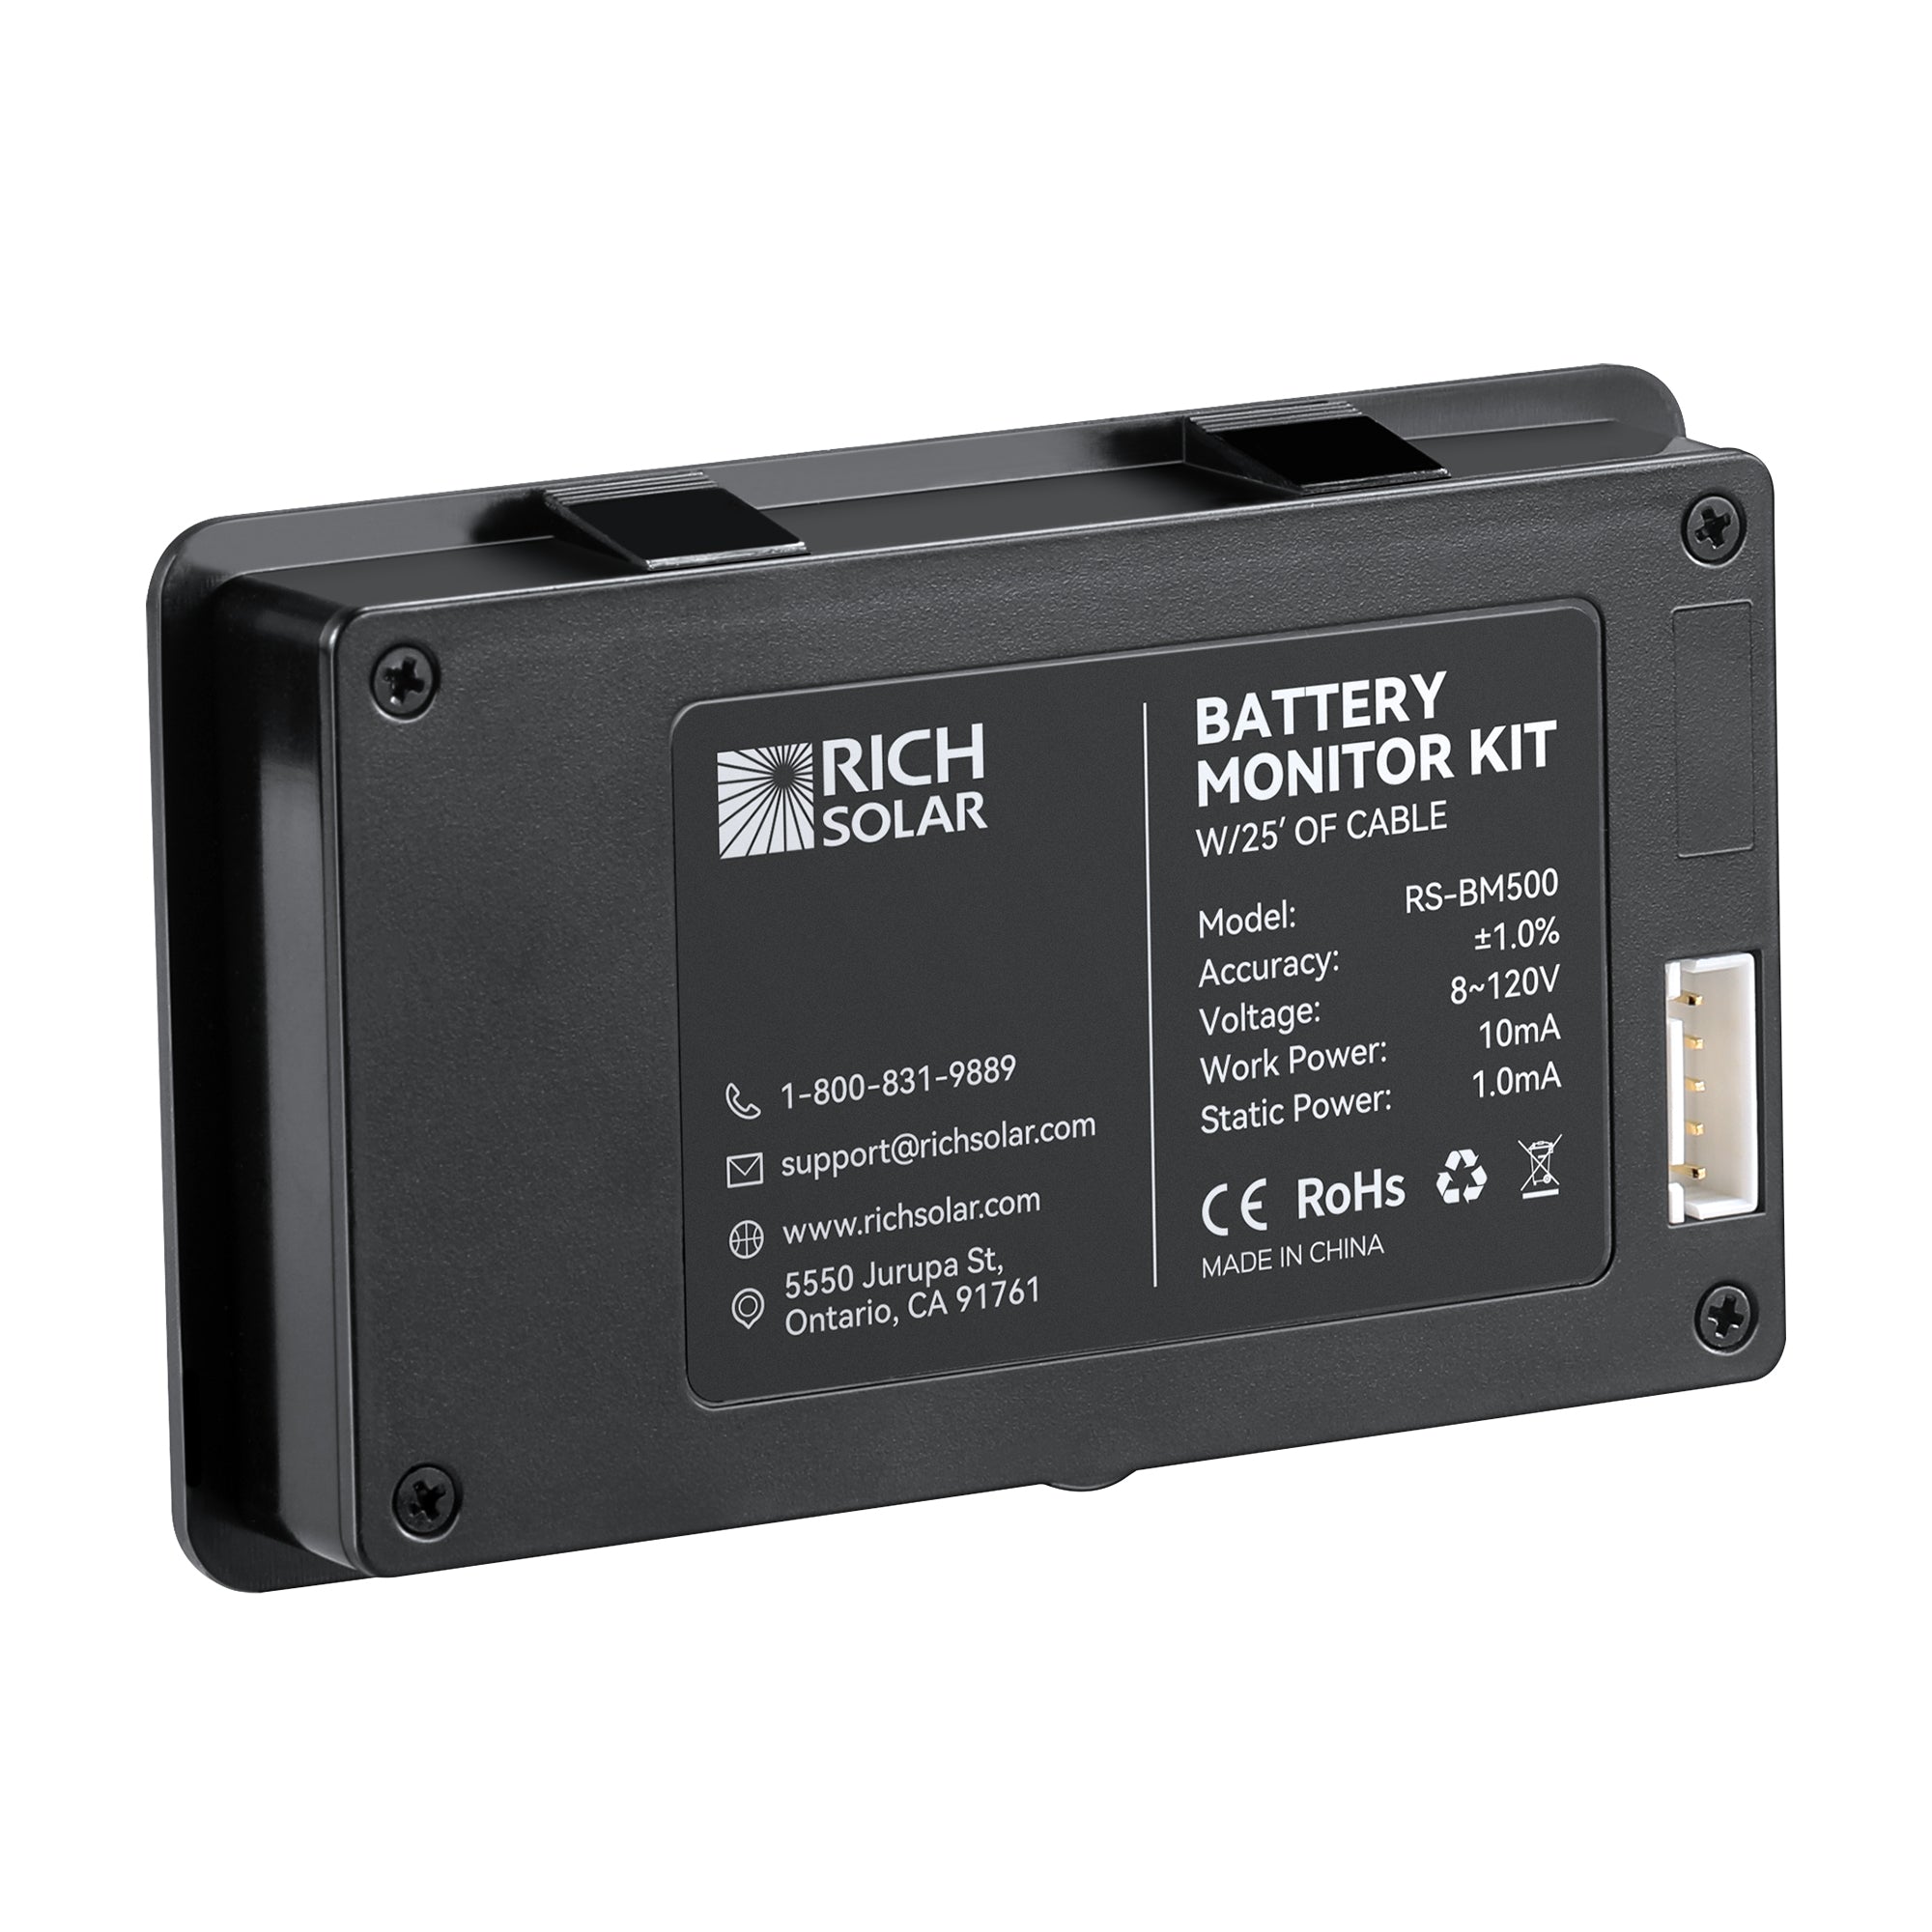
Model:
RS-BM500
Battery Voltage Range:
8-120V
Working Dissipation:
10mA
Standby Dissipation:
1mA
Capacity Accuracy:
±1.0%
Voltage Accuracy:
±1.0%
Current Accuracy:
±1.0%
Backlight On Current:
80mA
Capacity Setting Value:
0-500A
Current Range:
0.1-9999Ah
Fast & Free Shipping Nationwide
We offer free shipping on all orders within the continental U.S. through our network of warehouses. Once you place your order, you’ll receive a confirmation email, and we’ll begin processing it right away.
For most items, you can expect them to ship within 2-4 business days. Delivery typically takes an additional 3-7 business days, either through FedEx or USPS. Please keep in mind that weather, traffic, carrier troubles, or other unforeseen circumstances can affect shipping times.
We’re committed to making the shipping process smooth and worry-free so you can enjoy your new solar products without delay!
Comprehensive Warranty for Peace of Mind
We stand behind the quality of every product we sell, offering a full manufacturer’s warranty to ensure lasting performance.
Please check out the warranty page in our FAQ section for a detailed breakdown of warranties for each product.